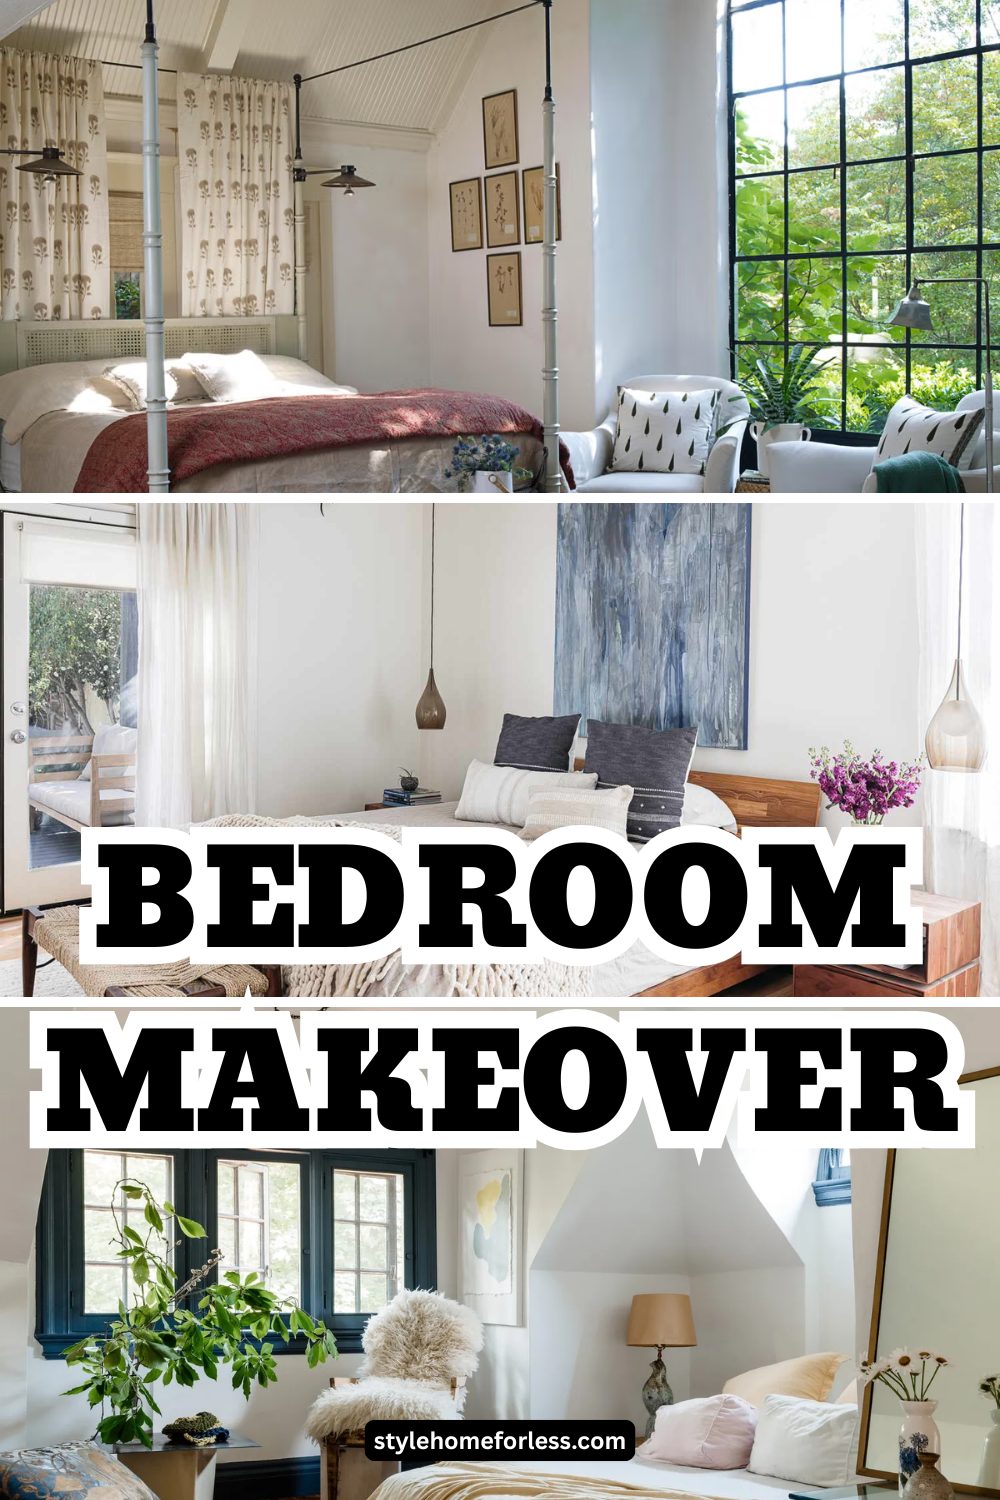
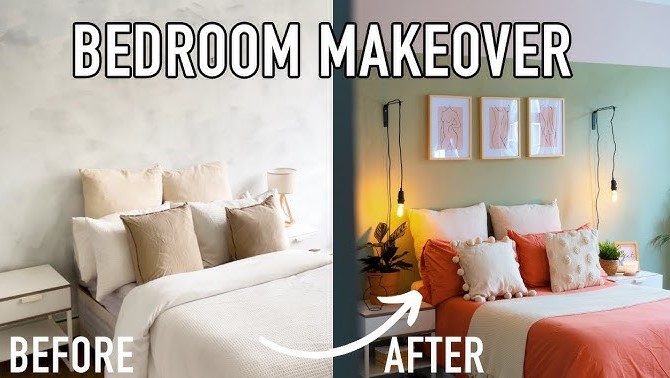
So there I was at 2:17 AM—lying in bed having what I can only describe as a decorating crisis.
You know that feeling when you suddenly see your space through fresh eyes? Like, REALLY see it?
Mine was not pretty.
The beige walls looked… well, beige. My furniture looked like it had been selected by someone who’d never heard the word “cohesion.” And don’t even get me started on that overhead light fixture that made everything look like a crime scene.
I actually Googled “how much does a bedroom makeover cost” at 2:20 AM.
Big mistake. HUGE mistake.
$3,000-8,000 for a “basic refresh.” Are you kidding me? That’s more than my car is worth! (Okay, my car’s pretty old, but still.)
Here’s what’s embarrassing: I’d been avoiding my own bedroom for months. Literally speed-walking through my morning routine because the space felt so… blah.
The Neighbor Who Changed Everything
Then last weekend happened.
My neighbor Rachel—you know, the one who somehow always looks put-together even when she’s taking out trash—invited me over for coffee. Her bedroom door was open and I just… stopped.
“Did you rob a West Elm?” I asked, probably with my mouth hanging open.
She laughed. “Hundred bucks. Two Saturday afternoons. That’s it.”
I’m pretty sure I said something intelligent like “But… how… what… where…?”
She showed me receipts. Actual receipts. One hundred and twelve dollars, to be exact.
Challenge freaking accepted.
Why Your Bedroom Actually Affects Your Life
Okay, so after Rachel’s reveal, I went down a research rabbit hole. Don’t judge me—it was either that or scroll TikTok until 3 AM.
Turns out there’s actual science behind why my sad beige cave was affecting my mood.
Environmental psychology research shows that bedroom environments directly impact:
- Sleep quality
- Stress levels
- Even relationship satisfaction (yes, really!)
Here’s the part that made me sit up straight: UCLA researchers found that people with “restful” bedroom environments fall asleep 37% faster than those with “chaotic” spaces.
Thirty-seven percent! That’s basically getting an extra 20 minutes of sleep just from making your room not suck.
But here’s the plot twist Pinterest never mentions: “restful” didn’t mean expensive.
It meant:
- Cohesive colors
- Comfy textures
- Organized surfaces
- Personal touches that actually reflect who you are
Well hello there, achievable weekend project.
The $100 Budget Breakdown That Actually Works
After obsessing over Rachel’s transformation photos, I did what any reasonable person would do: I made a spreadsheet.
Look, I know that sounds boring, but hear me out. I needed to figure out where every single dollar would have maximum impact. At $100, there’s zero room for impulse buys.
Here’s how the math actually works:
Textiles & Comfort: $45-55
- New bedding or decorative pillows ($25-35)
- Throw blanket or accent textile ($12-18)
- Window treatment upgrade ($8-12)
Why this gets the biggest chunk: Your bed takes up like 60% of visual space.
Lighting & Ambiance: $20-25
- String lights or accent lighting ($8-12)
- Candles or ambient elements ($5-8)
- Lampshade upgrade or table lamp ($7-10)
Because nobody looks good under harsh overhead lighting. Nobody.
Wall & Surface Décor: $15-20
- Wall art or printables with frames ($8-12)
- Small decorative objects ($4-6)
- Plants or greenery ($3-6)
Empty walls = sad walls. That’s just science.
Organization & Function: $10-15
- Storage solutions or organizers ($6-10)
- Surface styling elements ($4-5)
For all the random stuff that makes your space look messy instead of lived-in.
I actually tested three different budget breakdowns before settling on this one. The first version allocated too much to wall art (looked pretty, felt cold). The second skimped on lighting (big mistake—lighting is everything).
Third time was the charm.
Weekend Transformation: Step-by-Step
Friday Evening: The Brutal Assessment (1 hour)
Before spending a single dollar, I did what Rachel called the “brutal bedroom audit.”
Step 1: Clear everything off surfaces. I mean everything. Nightstands, dresser tops, even the random pile of stuff on my chair (you know the one).
This instantly made the room feel 50% better.
Step 2: Take photos from multiple angles. You’ll notice things in photos that your eye glosses over in person. Like how my curtains were hung way too low, making my ceilings look shorter.
Step 3: Make a wish list, then prioritize ruthlessly. I wanted new furniture, better lighting, wall color, artwork, plants, organization systems, and about fifteen other things. But with $100, I had to focus on changes that would create the biggest visual impact.
My top three priorities:
- Color cohesion (everything felt random)
- Better lighting (one harsh overhead bulb = prison vibes)
- Texture (everything was flat and boring)
Saturday Morning: Strategic Shopping
Stop #1: Target (Budget: $60)
First confession: I almost blew my entire budget in the first fifteen minutes.
Target’s bedding section is designed to make people like me lose all financial self-control. Everything looks so pretty under those carefully positioned lights!
But I stuck to my spreadsheet like my life depended on it.
My haul:
- Sage green duvet cover set (clearance victory): $22
- Two decorative pillow covers ($8 each): $16
- String of warm white LED lights: $12
- Chunky knit throw blanket on clearance: $14
Pro tip: I took photos of everything next to my existing furniture before buying. Nothing’s worse than getting home and realizing your “perfect” bedding clashes with everything you own.
Stop #2: Dollar Tree (Budget: $15)
Can we talk about how Dollar Tree has seriously upped their game? Their home section actually has decent stuff now.
What I grabbed:
- Three small glass vases: $3 total
- Decorative tray for nightstand: $1
- Battery-operated flameless candles: $8 (bought 4)
- Picture frames for DIY wall art: $3 (got 3)
The frames are honestly the same quality as Target’s $5 versions.
Stop #3: Grocery Store Plant Section (Budget: $8)
Plot twist: some of the best plants come from grocery stores.
Picked up three tiny succulents for $2.50 each. Way better selection than the garden center, and half the price.
Shopping damage report: $83 total (leaving me $17 for emergencies)
Saturday Afternoon: The Actual Magic (4 hours)
Hour 1: Transform the bed
The bed takes up the most visual real estate, so this is where the magic happens first.
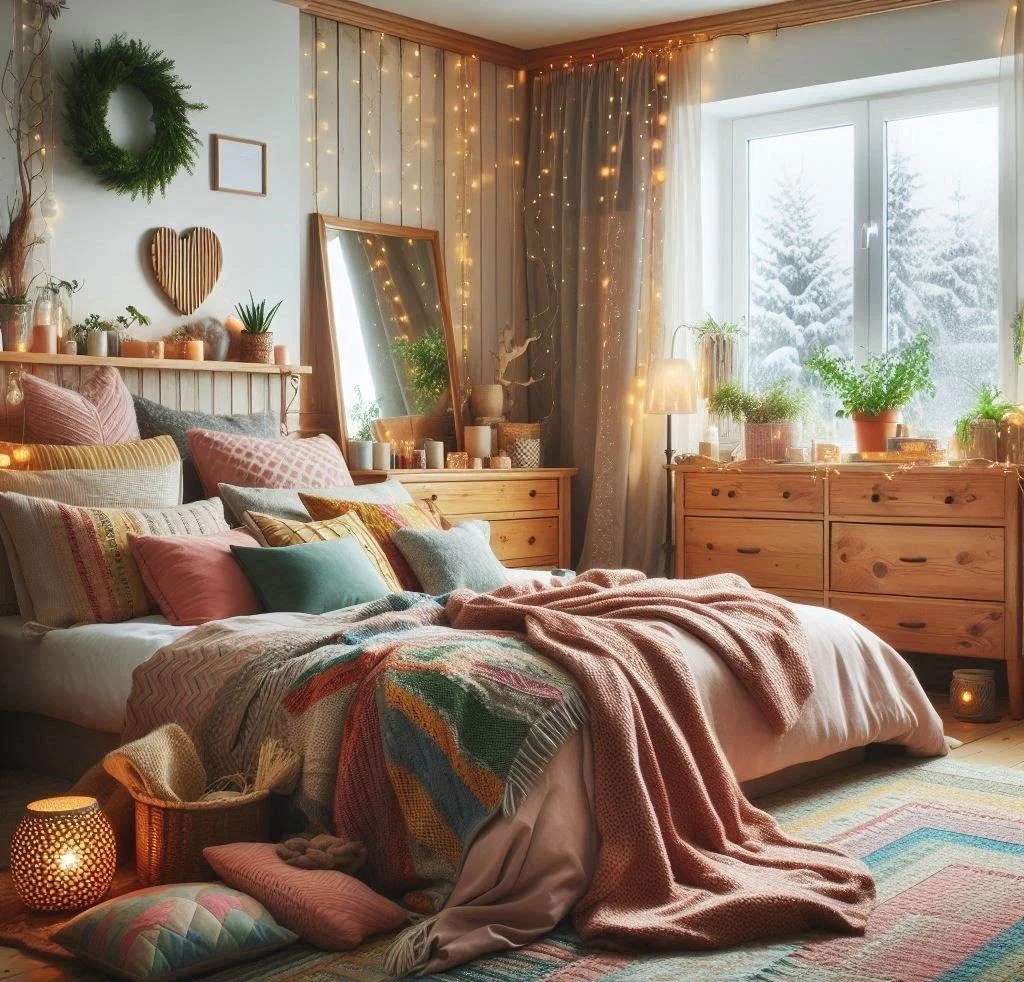
Swapped out my old sheets for the new sage green duvet cover. Added the decorative pillows (after rearranging them four different ways). Draped that chunky knit throw across the foot of the bed.
The transformation was immediate. Like, stopped-me-in-my-tracks immediate.
My room went from “random furniture showroom” to “intentionally styled grown-up space” in less than an hour.
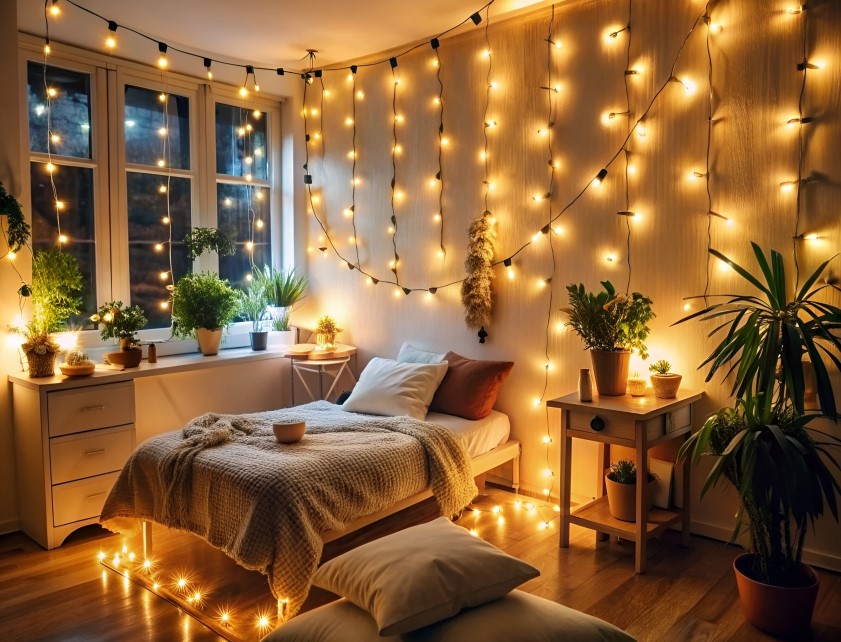
Hour 2: Lighting magic
Y’all, harsh overhead lighting is the enemy of cozy anything.
Stringing those LED lights around my headboard seemed easy in theory. In practice? I spent twenty minutes figuring out how to make them look intentional instead of like Christmas decorations exploded.
Pro tip: measure twice, string once.
But once I got them positioned correctly? Chef’s kiss. Soft backlighting that immediately made everything feel more intimate and relaxing.
Hour 3: Surface styling
This is where most people—including past me—go completely wrong. You either leave surfaces totally bare (boring) or pile random stuff everywhere (messy disaster).
The secret sauce is “intentional groupings.”
Nightstand styling formula that works:
- One tall thing (lamp or plant)
- One medium thing (candle or pretty object)
- One flat thing (book or tray)
- Leave about 30% empty space (this part killed my maximalist soul but trust the process)
Applied this same strategy to my dresser top. Created two small groupings instead of spreading stuff across the entire surface.
It looks… professional? Like someone who knows about decorating did it? Wild.
Hour 4: Wall art and final touches
Empty walls make rooms feel unfinished, but expensive art makes budgets cry.
I printed three free botanical prints from Unsplash, stuck them in my Dollar Tree frames, and created a gallery wall above my dresser.
First attempt: too far apart. Looked like the pictures were socially distancing. Second attempt: too close together. Felt cramped. Third attempt: just right, but I had to use a level app on my phone.
Placed the little succulents in those glass vases and distributed them around the room. Living plants instantly make everything feel more vibrant and cared-for.
Used the decorative tray to organize all the tiny necessities on my nightstand—phone charger, lip balm, reading glasses. Keeps everything accessible while maintaining that “styled” look.
Final step back to assess:
Holy crap. It actually worked.
I may have taken seventeen photos and sent them to everyone I know. No shame.
The Mistakes That Nearly Ruined Everything
Mistake #1: Shopping without measuring
I almost bought curtains that were too short for my windows. Always measure before shopping, and bring those measurements with you.
Mistake #2: Choosing trends over personal preference
Got temporarily seduced by trendy yellow bedding that looked great on Instagram but felt completely wrong in my actual space. Choose colors that make YOU happy, not colors that are having a moment.
Mistake #3: Trying to do everything at once
My original plan involved rearranging all my furniture, which would have required help and eaten up time I didn’t have. Sometimes the biggest impact comes from working with what you have.
Mistake #4: Perfectionism paralysis
Spent twenty minutes debating the exact placement of three small pictures. Sometimes “good enough” is actually perfect.
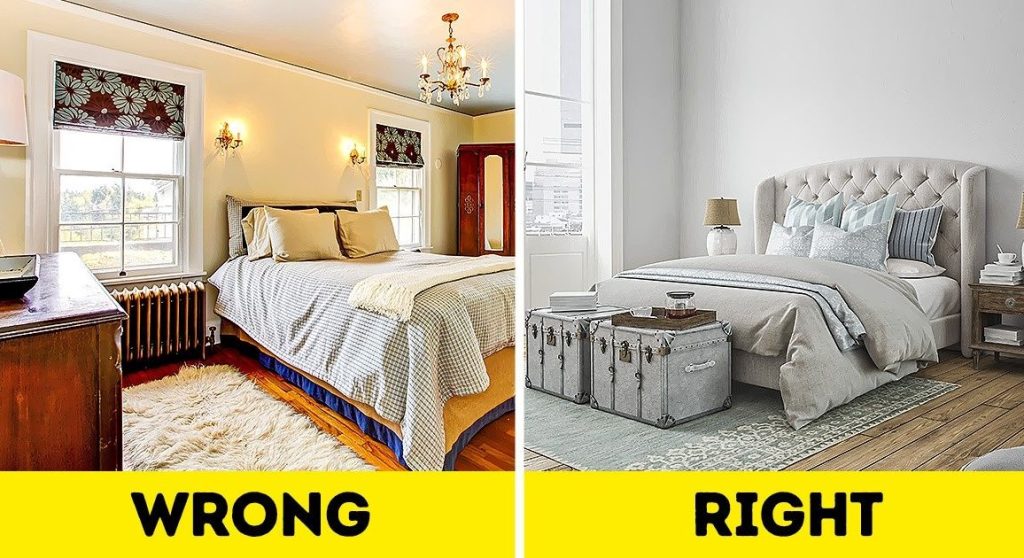
What Actually Creates the “Expensive” Look
After transforming my space and helping three friends with theirs, I’ve identified the specific elements that make budget makeovers look high-end:
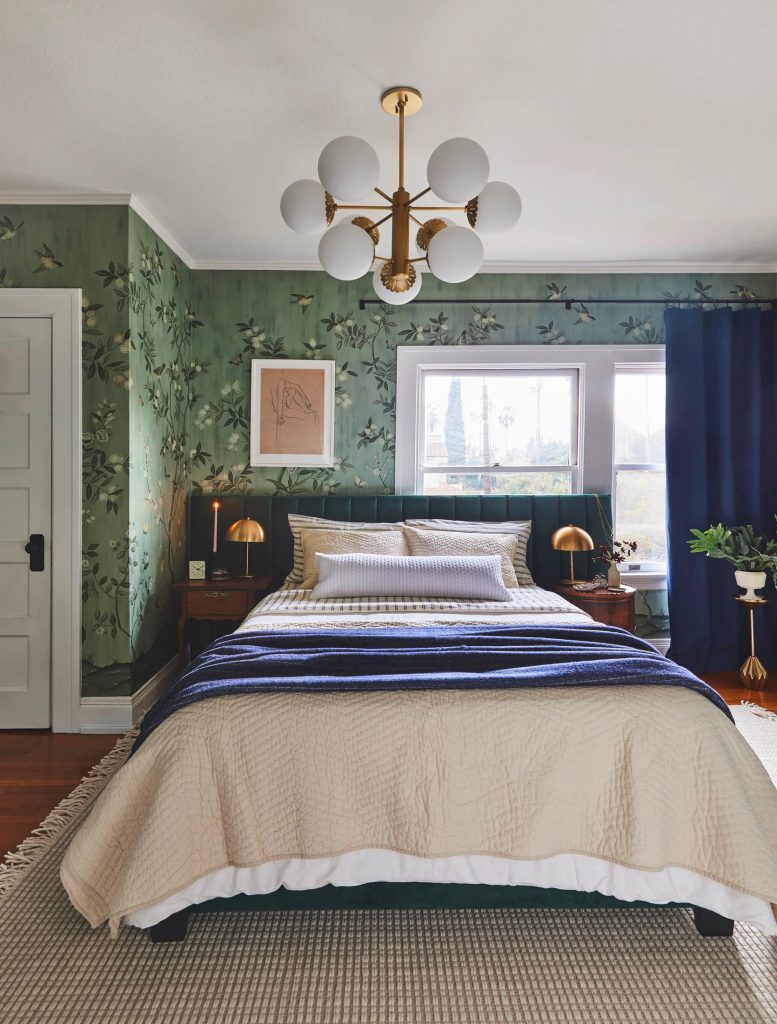
Color Cohesion is Everything
Expensive-looking rooms have consistent color stories. My sage green bedding, warm white lights, natural wood tones, and white accents all work together. Nothing feels random.
The rule: Limit yourself to 3-4 colors maximum. More than that starts looking chaotic.
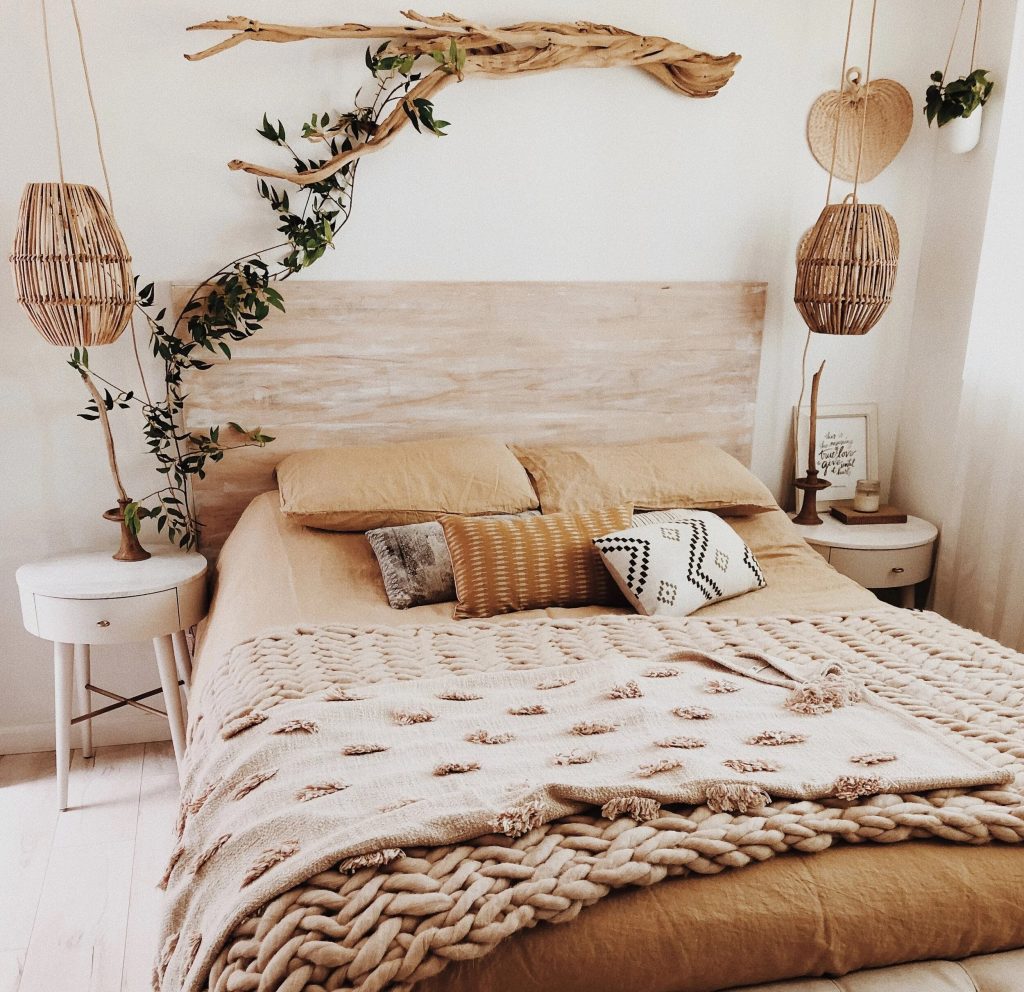
Texture Trumps Pattern
Varied textures create visual richness without overwhelming the eye.
- Smooth cotton
- Chunky knit
- Rough wood
- Soft plants
Each surface feels different to touch, which translates to visual interest.
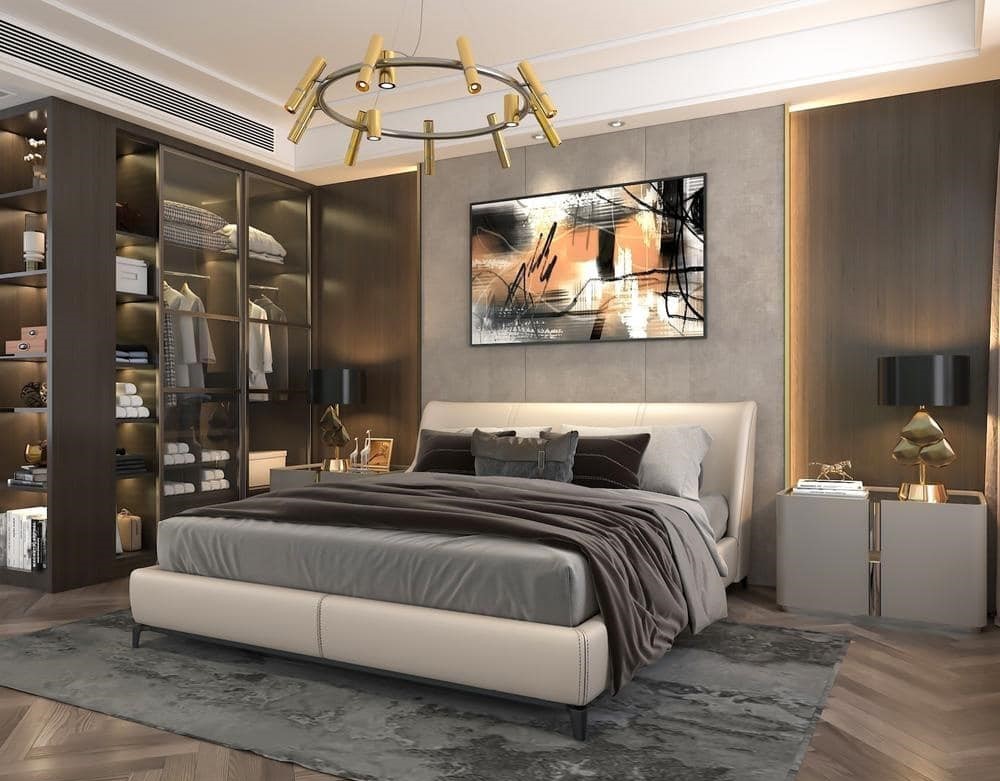
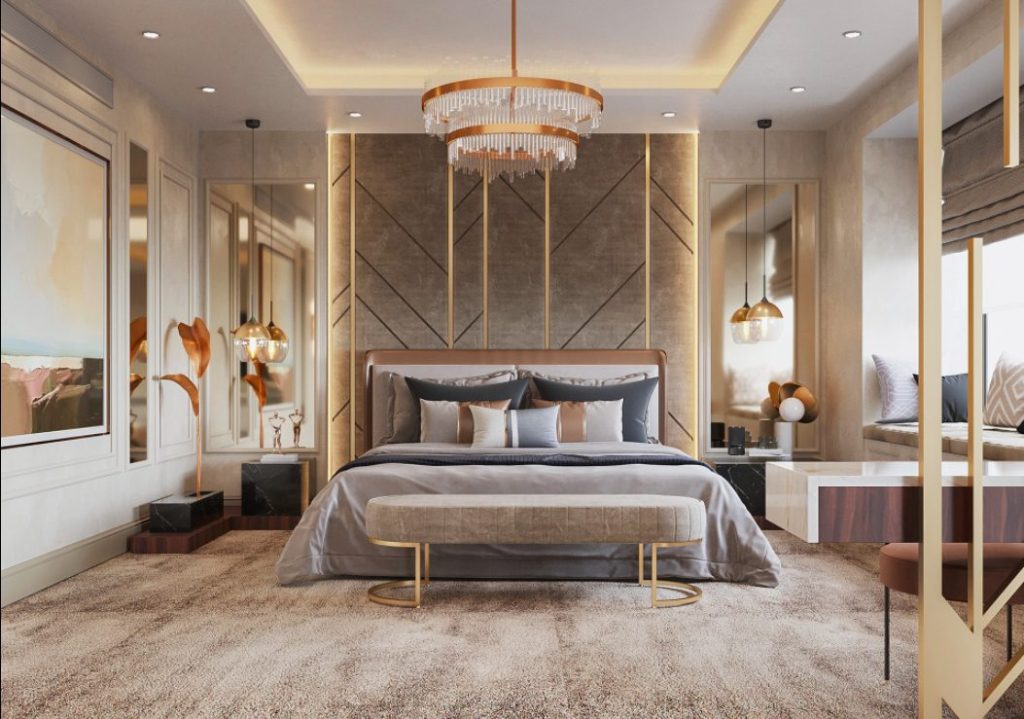
Lighting Sets the Mood
Layered lighting feels more expensive than single overhead fixtures.
- String lights provide ambiance
- Candles add warmth
- Natural light during the day
Multiple light sources create depth and coziness.
Intentional Imperfection
Rooms that look “too perfect” feel sterile.
- That throw blanket casually draped over the bed
- The slight asymmetry in pillow placement
- The stack of books on the nightstand
These details make spaces feel lived-in and authentic.
Exactly Where the Money Went
Bedding & Textiles: $52
- Sage green duvet cover set (clearance): $22
- Two decorative pillow covers: $16
- Chunky knit throw blanket (clearance): $14
Lighting & Ambiance: $16
- LED string lights: $12
- Flameless candles (4): $8
Décor & Accessories: $11
- Small plants (3): $7.50
- Glass vases (3): $3
- Decorative tray: $1
Wall Art: $3
- Picture frames (3): $3
- Printable art: Free
Final total: $82
Leftover budget of $18 went toward a small table lamp from a thrift store the following week.
The Surprising Ripple Effects
The changes went way beyond just having a prettier bedroom:
Sleep improved significantly.
Whether it’s psychological or the actual ambiance shift, I fall asleep faster and wake up in a better mood. The cozy lighting signals my brain that it’s time to wind down.
Morning routine became more pleasant.
Instead of rushing to leave my boring bedroom, I actually enjoy getting ready in a space that feels good.
Guests notice immediately.
Friends comment on how “put-together” and “peaceful” the room feels. It’s become a point of pride instead of embarrassment.
Inspired other areas of the house.
Success in the bedroom gave me confidence to tackle other spaces. The techniques I learned transferred to every other room.
Proved that budget doesn’t determine style.
This project shifted my entire mindset about decorating. Good taste and thoughtful choices matter more than expensive items.
Common Problems and Quick Fixes
“My room is too small for dramatic changes”
Solution: Small rooms benefit most from good lighting and cohesive color schemes. Focus your budget on textiles and ambient lighting rather than additional furniture.
“I rent and can’t paint walls”
Solution: Large textiles (tapestries, removable wallpaper, or fabric wall hangings) can transform wall color without permanent changes.
“My furniture doesn’t match”
Solution: Unifying accessories and consistent color schemes make mismatched furniture look intentionally eclectic rather than random.
“I have no natural light”
Solution: Layer artificial lighting at different heights. Floor lamps, table lamps, and string lights can compensate for lack of windows.
Your Action Plan: Start This Weekend
Pick one area that bothers you most. Don’t try to transform your entire room at once.
Set a realistic budget. Even $25-50 can make a significant difference if spent strategically.
Focus on lighting first. It’s the easiest way to instantly change how a space feels.
Choose one color family and stick to it. Consistency beats perfection every time.
Start small, but start now. Your bedroom should be a retreat from the world, not a space you want to escape from.
Six Months Later: The Real Results
This $100 investment fundamentally changed how I think about home decorating. You don’t need huge budgets to create spaces that genuinely improve your daily life.
More importantly, this project taught me to trust my own aesthetic judgment instead of feeling intimidated by perfect Pinterest rooms.
Six months later, I still love walking into this room. The colors still make me happy, the lighting still feels perfect, and the overall vibe still matches what I hoped to create.
My advice? Start with one room that bothers you most. Focus on changes that serve your actual lifestyle. Prove to yourself that good design isn’t about money—it’s about making thoughtful choices.
Your bedroom should be a retreat from the world, a space that feels authentically yours, and a place that supports your rest and wellbeing.
All achievable for the cost of a nice dinner out.
Frequently Asked Questions
How much does a budget bedroom makeover really cost?
A meaningful bedroom transformation can happen for as little as $50–$100 when you focus on high-impact swaps like new bedding, ambient lighting, and a few inexpensive accessories. The key is spending strategically — textiles and lighting give you the most visual bang per dollar. My $82 total transformed a room that had felt stale for months into a space I actually wanted to spend time in.
What makes a bedroom look more expensive without spending a lot?
Three things consistently create a high-end look on a budget: color cohesion (stick to 3–4 complementary tones), layered lighting (ditch the single overhead bulb in favor of string lights and candles), and intentional surface styling (leave about 30% of each surface empty). These are design principles used in expensive spaces — they cost nothing to apply. If you’re also considering bigger changes like paint, check out which paint colors make small rooms look bigger for color inspiration that works in any size bedroom.
Can I do a bedroom makeover if I’m renting and can’t paint?
Absolutely — and honestly, no-paint makeovers often look better because they force you to rely on textiles, lighting, and accessories rather than a single color overhaul. Large fabric wall hangings, removable peel-and-stick wallpaper, and gallery walls with Command strips create visual warmth without touching your walls. I did my entire transformation without a single paint stroke, and my landlord hasn’t noticed a thing. For more renter-friendly ideas, the best IKEA hacks post has some clever storage and styling solutions that leave zero damage behind.
Ready to create your own cozy bedroom retreat? Share your before photos and budget challenges in the comments—I love seeing how these ideas adapt to different spaces and styles!
You might also enjoy:
Leave a Reply