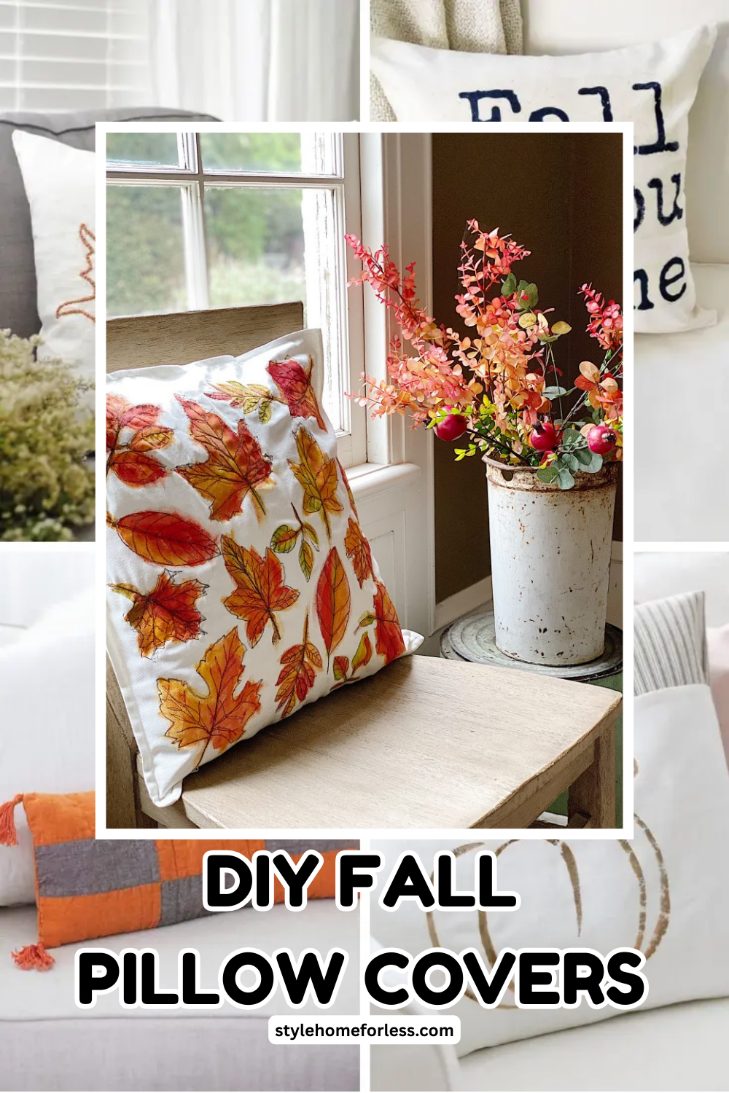
The crash course in faking sewing skills while actually creating something gorgeous
Three weeks ago, I was browsing Pinterest at 2:17 AM (because apparently that’s when I make my best life decisions), and I stumbled across this fall living room that made me physically stop scrolling.
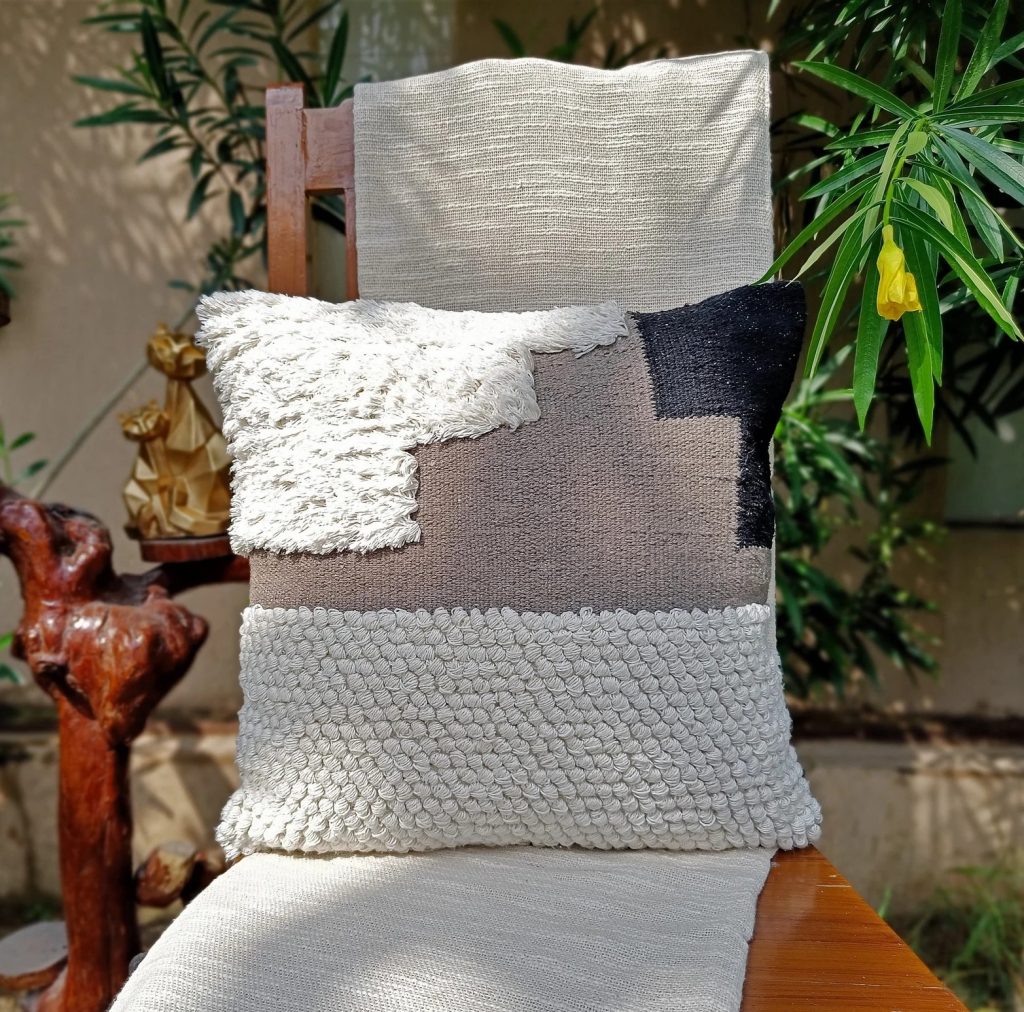
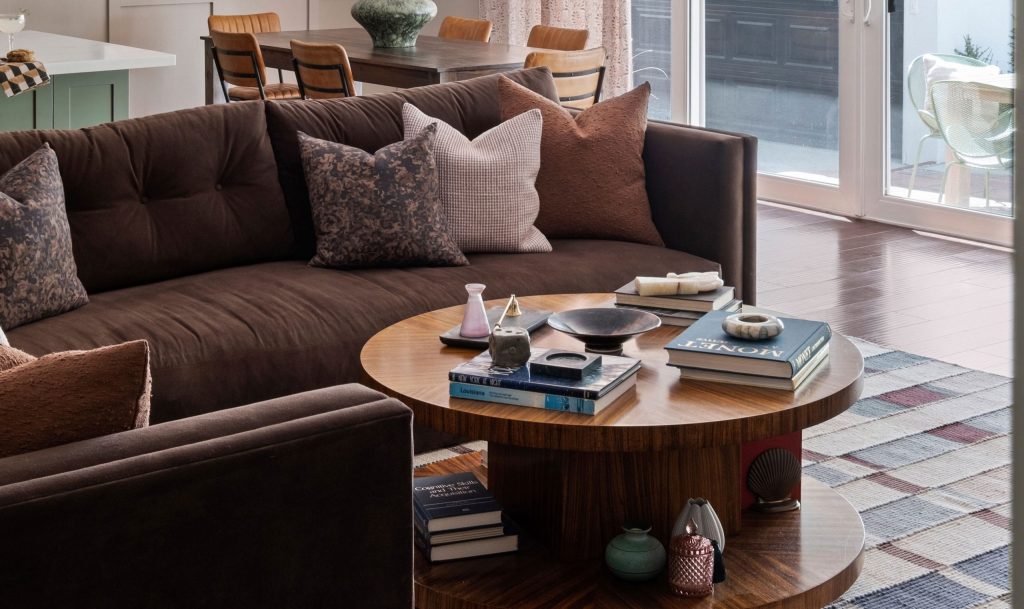
The pillows. Oh my God, the pillows.
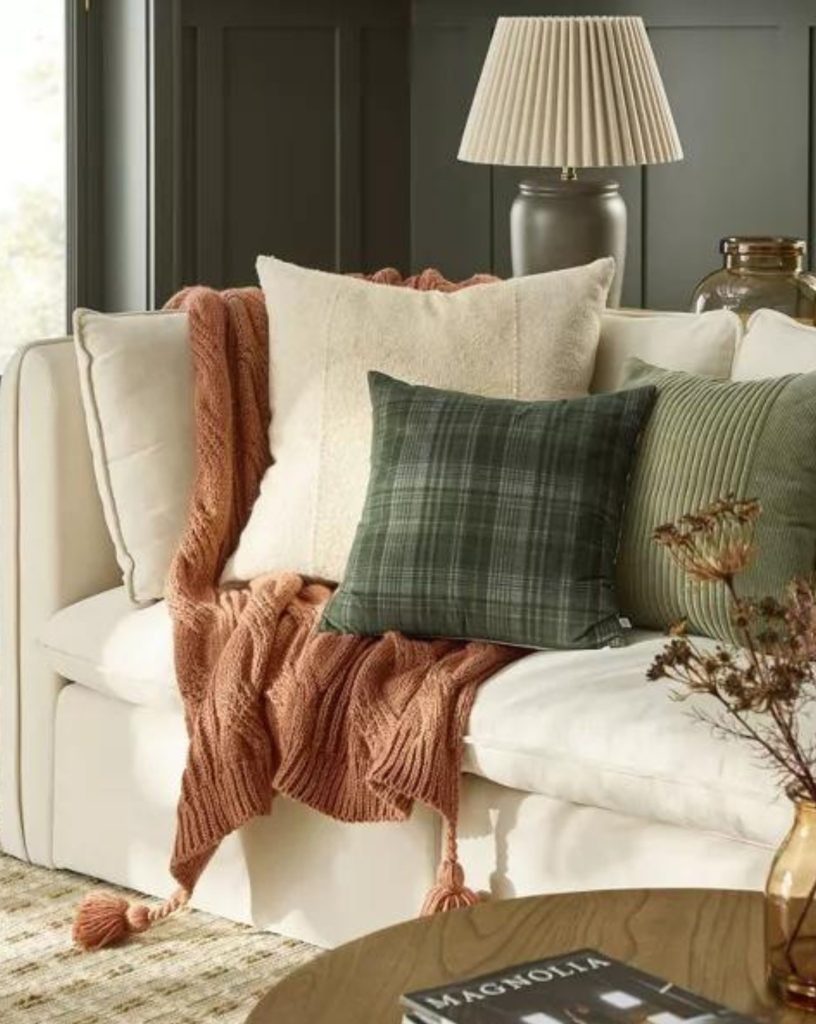
Rich burgundy velvet mixed with cream linen, a touch of plaid, some textured knit situation that looked like it cost more than my car payment. The whole scene screamed “I have my life together and probably know how to fold fitted sheets.”
So naturally, I screenshot it and immediately started googling “fall throw pillows” because I am nothing if not an optimist about my decorating budget.
Reality check #1: Those pillows cost $45-85 EACH. Each! For a pillowcase that would probably get Goldfish cracker crumbs on it within 48 hours.
Reality check #2: I can’t sew. Like, at all. I once tried to hem a curtain and somehow made it shorter on one side. Physics defying stuff.
Reality check #3: I still wanted that cozy fall pillow aesthetic more than I wanted to keep my grocery money.
That’s when I discovered the secret world of no-sew pillow making. And let me tell you—it changed everything.
Why Traditional Sewing is Overrated Anyway
Here’s what nobody tells you about “sewing required” pillow covers: most of them don’t actually need traditional sewing at all.
I mean, seriously. We’re talking about fabric rectangles here. Not wedding dresses.
The techniques that actually work rely on stuff you probably already have lying around:
- Fabric glue that’s honestly stronger than my grandmother’s stitching
- Iron-on tape that creates bonds lasting longer than most of my relationships
- Strategic folding that would make a origami master jealous
- Basic physics that keeps everything together without a single thread
Why no-sew beats sewing for seasonal stuff:
You can change your mind. A lot. Like when you realize orange pillows seemed like a good idea in September but by November you’re ready to burn them.
Speed matters. I can finish a pillow cover while my coffee’s still hot. Try that with a sewing machine.
Zero learning curve. No YouTube tutorials about threading bobbins or whatever those spinning things are called.
And here’s the science bit that blew my mind: Modern fabric adhesives create flexible bonds that actually move with the fabric. They’re designed for this stuff. Meanwhile, I once saw a sewn pillow cover where the stitching failed after two months of normal use.
Go figure.
The 5 Techniques That Made Me Look Like I Know What I’m Doing
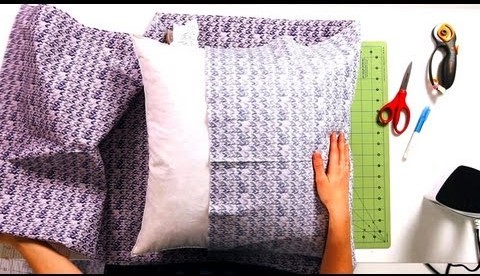
Method #1: The Envelope Fold
AKA “How to Make Something From Literally Nothing”
⏱️ Time: 15 minutes if you don’t get distracted
💰 Cost: $3-6 per pillow
🎯 Difficulty: So easy it’s embarrassing
This is basically gift-wrapping for furniture. No supplies beyond fabric and scissors.
What you actually need:
- Fabric piece that’s 26″ x 20″ (for regular 18″ pillows)
- Scissors that cut straight (harder than it sounds)
- Measuring tape or a ruler
- Iron if you’re feeling fancy
How to do it without screwing up:
Step 1: Cut your fabric. Measure twice because I’ve definitely cut things too small before. Very humbling experience.
Step 2: Fold both short edges about 2 inches toward the center. This prevents the fraying situation that makes everything look sad and homemade.
Step 3: Here’s where it gets weird. Lay the fabric face-down, then fold one hemmed edge toward the center. Take the other hemmed edge and overlap it by about 4 inches. The overlap is what keeps your pillow from escaping.
Step 4: Fold the remaining raw edges over and tuck them inside the overlap. It’s like tucking in a shirt, but for fabric rectangles.
Step 5: Flip it right-side out and stuff your pillow in through the overlapped opening. The fabric tension does all the work.
I’ve made probably fifteen pillows this way. Only one has ever come apart, and that was because my cat decided it looked like a good wrestling opponent.
Best fabrics for this: Cotton canvas holds its shape well. Linen looks expensive and hides mistakes. Heavy cotton survives daily abuse from kids and pets.
Method #2: Iron-On Magic
When you want permanent results but own zero sewing skills
⏱️ Time: 25 minutes including the part where you hunt for your iron
💰 Cost: $4-8 per pillow
🎯 Difficulty: Slightly trickier but still doable
This creates results that look professionally sewn. People will ask where you bought them.
Supply list:
- Fabric cut into two 19″ x 19″ pieces
- Iron-on hem tape (¾” width works best)
- An iron that actually gets hot
- Pressing cloth or clean dish towel
The process that actually works:
Prep phase: Cut your fabric into front and back pieces. 19×19 gives you a little wiggle room around an 18″ pillow, which prevents the sausage-casing look.
Hem creation: Fold one edge of each piece about ½” toward the wrong side. Slide hem tape inside the fold, cover with your pressing cloth, and iron for 10-15 seconds with firm pressure. Don’t skip the pressing cloth unless you want melted plastic on your iron.
Assembly time: Put the panels right sides together with hemmed edges overlapping to create your pillow opening. Apply hem tape along the three remaining sides, then iron each seam for 15 seconds.
Reality check: Your iron needs to be on cotton setting or higher. I learned this the hard way when nothing stuck and I couldn’t figure out why.
The finished product looks genuinely professional. I made four of these last fall and people still ask where I got them.
Method #3: Safety Pin Couture
Sounds basic, looks surprisingly sophisticated
⏱️ Time: 20 minutes of actual work
💰 Cost: $2-5 per pillow
🎯 Difficulty: Easy but requires patience
Don’t laugh. This technique creates adjustable, changeable pillow covers that actually look intentional.
What you need:
- One long piece of fabric, 20″ x 40″
- Large safety pins (2-3 inch size), about 8-12 per pillow
- Patience for consistent pin spacing
How to make it work:
Fabric prep: Use one continuous piece that wraps around the entire pillow. Way easier than trying to match up separate pieces.
The wrapping: Center your pillow on the fabric and wrap it like a present, with fabric meeting at the back.
Strategic pinning: Pin along the back seam every 3-4 inches. The key is keeping spacing consistent so it looks intentional instead of random.
Corner magic: Gather fabric at corners and pin closed. For extra security, fold corners inward first, then pin.
I was skeptical about this method until I tried it with vintage brooches instead of regular safety pins. Game changer. Now it looks like an expensive design choice instead of a temporary fix.
Pro move: Use decorative pins that coordinate with your fabric. Or choose contrasting colors if you’re feeling bold.
Method #4: Fabric Glue Revolution
For when you want it permanent and professional
⏱️ Time: 30 minutes hands-on, then waiting
💰 Cost: $5-9 per pillow
🎯 Difficulty: Intermediate but worth it
This creates permanent, washable results that honestly look better than some sewn pillows I’ve seen.
Supply checklist:
- Two 19″ x 19″ fabric pieces
- Good fabric glue (I use Aleene’s Fabric Fusion)
- Clamps or clothespins for holding
- Ruler and pencil for marking
The professional approach:
Preparation: Mark ½” seam allowance on all sides using light pencil. This prevents wobbly edges that scream “amateur hour.”
Glue application: Apply a thin, even line along three sides of one piece. Stay within your marked lines. More glue isn’t better—it just creates lumpy seams.
Assembly: Place the second piece on top, right sides together. Press firmly along glued areas, then clamp every few inches. The clamping is crucial for even bonding.
Patience phase: Let it cure for 24 hours. I know, I know. But rushing this step ruins everything.
Finishing: Turn right-side out through the open edge. For extra security, add a thin line of glue along the inside of the opening after inserting your pillow.
These hold up incredibly well. I’ve got fabric-glued pillows that have survived two full seasons and multiple washing machine cycles.
Method #5: Tie-Corner Artistry
When function meets deliberate style
⏱️ Time: 35 minutes start to finish
💰 Cost: $6-12 per pillow
🎯 Difficulty: More involved but totally doable
This creates visible closure elements that become part of the design. Very boho chic.
Materials:
- Two 20″ x 20″ main fabric pieces
- Eight fabric strips, each 2″ x 8″, in coordinating color
- Fabric scissors
- Optional: contrasting thread for hand-knotting
The artistic process:
Tie prep: Cut your coordinating fabric into strips. Fold each strip lengthwise and either glue or knot the fold to create finished ties.
Placement strategy: Pin ties at corners and along sides of one fabric piece. Think about how they’ll look when tied—some loose, some in bows, some knotted.
Assembly: Place second fabric piece on top, sandwiching ties between layers. Use fabric glue along edges to secure everything permanently.
Styling phase: Once everything’s cured, tie corners and sides however looks best. You can change the tie style anytime you want a different look.
I love this method because it’s completely customizable. Ribbon works instead of fabric strips. Different tie positions create different vibes. Very forgiving of creative experimentation.
Where to Find Amazing Fabric Without Going Broke
The Clearance Goldmines
Walmart fabric section is my secret weapon. End-of-season clearances drop prices to $1-4 per yard. I’ve found gorgeous home décor fabrics marked down 80% just because the season changed.

JoAnn Fabrics clearance events happen around major holidays. Sign up for their emails because combining clearance prices with coupons creates ridiculous savings. I once got $60 worth of fabric for $18.
Thrift store fabric sections are hit or miss but oh my God, when you hit… I found vintage designer fabric remnants for $0.50 per yard. Enough for six pillow covers. If you love thrift-store sourcing for décor, check out how I used thrift store finds to transform a whole living room on a budget.
Alternative fabric sources that work brilliantly:
Old curtains from thrift stores. Often excellent quality home décor fabric in large pieces.
Tablecloths provide enough fabric for multiple pillows. Look for interesting textures or patterns.
Clothing can become textural pillows. Old sweaters, corduroy pants, even denim jackets work.
Target’s post-holiday clearance is legendary. January markdowns hit 90% off. Stock up for next year.
The key is thinking beyond the bolt fabric section. Some of my best pillow covers came from repurposed textiles that cost a fraction of new fabric.
The Psychology of Fall Colors (And Why It Actually Matters)
Warm earth tones make spaces feel cozy and stable. Rust, terracotta, warm browns—they literally trigger comfort responses in your brain.
Rich jewel tones add sophistication without being overwhelming. Burgundy, deep forest green, navy. They make rooms feel more expensive.
Neutral foundations let you change accent colors seasonally without starting over. Cream, warm gray, natural linen work with everything.
Here’s my go-to formula: 60% neutral base, 30% main fall color, 10% accent color. Works every single time.
Successful combinations I’ve actually tested:
- Rust + cream = classic fall without being obvious
- Forest green + gold = sophisticated traditional
- Burgundy + gray = modern elegant
- Navy + copper = contemporary autumn
The biggest mistake I see is trying to match everything perfectly. Real rooms have collected-over-time vibes. Mix textures and slightly different shades within the same color family.
How to Style Pillows Like You Know What You’re Doing
The Odd-Number Rule
Your brain likes odd groupings better than even ones. Don’t ask me why, but it’s true. Group pillows in threes, fives, or sevens.
Standard sofa trio:
- Left: Large neutral pillow (22″)
- Center: Medium fall color (18″)
- Right: Small accent (16″)
Five-pillow sectional: Start with large neutrals at corners for back support, then alternate sizes and colors toward the center.
Texture mixing strategy:
Pair opposites for maximum impact. Smooth cotton with chunky knit. Sleek linen with rough burlap. Soft velvet with canvas.
Build layers gradually:
- Base layer: smooth, solid foundations
- Middle layer: textured or subtly patterned
- Top layer: high-contrast accents
The rotation system:
Keep 1-2 neutral pillows constant across seasons. Change only the accent pillows. Creates continuity while allowing seasonal expression.
I store off-season pillows in vacuum bags. Takes up minimal space and everything stays clean.
When Things Go Wrong (And How to Fix Them)
Fabric fraying after washing:
This usually means wrong fabric choice or skipped edge finishing. Fix it with clear nail polish on cut edges, or switch to pinking shears for future projects.
Adhesive not holding:
Your iron probably wasn’t hot enough, or you didn’t wait long enough for curing. Test adhesives on scraps first. Some fabrics need specific glue types.
Pillows looking obviously homemade:
Usually caused by inconsistent measurements or poor fabric choice. Use a ruler for everything. Choose fabrics that flatter your skill level—some hide mistakes better than others.
Covers too tight or loose:
Measure your actual pillow insert, not the package dimensions. Add 1″ for ease if too tight, subtract ½” if too loose.
I’ve made every one of these mistakes. Multiple times. The key is adjusting and moving on, not aiming for perfection on the first try.
The Real Numbers: DIY vs. Store-Bought
My typical pillow cover cost: $4-11 each
Target fall pillows: $15-35 each
West Elm seasonal covers: $29-49 each
Pottery Barn collection: $39-69 each
Full living room refresh (5 pillows):
- DIY approach: $20-55 total
- Retail shopping: $175-275 total
- Net savings: $155-220
But honestly? The satisfaction factor is worth more than the money saved. Every compliment feels better when you made it yourself.
Your Weekend Project Plan
Friday evening (30 minutes): Measure everything. Browse fabric options online or plan your shopping trip. Choose your first technique based on confidence level.
Saturday morning (2 hours): Shop for fabric and supplies. Test your chosen method on scraps first. Complete your first pillow using the envelope fold—it’s nearly foolproof.
Sunday afternoon (1 hour): Style your new pillow with existing décor. Take photos for future reference. Plan your next project based on what you learned.
Start small. Build confidence. Experiment from there.
The Confidence Revolution
Six weeks after making my first no-sew pillow cover, something unexpected happened.
It wasn’t just that my living room looked better (though it absolutely did). It wasn’t even that I’d saved hundreds of dollars on seasonal decorating (though that was pretty amazing too).
The real transformation was realizing I could create beautiful things with my own hands.
Before: I avoided DIY projects because I “wasn’t crafty”
After: I realized creativity doesn’t require traditional skills
Before: I felt intimidated by home decorating
After: I understood that good design comes from understanding what works, not owning expensive tools
Before: I thought beautiful homes required unlimited budgets
After: I discovered that constraints often produce more interesting results
The ripple effects surprised me. I started attempting other “difficult” projects. Developed my own decorating style instead of copying magazines. Gained confidence in trusting my aesthetic instincts.
Your no-sew pillow journey is about more than saving money on throw pillows. It’s about proving to yourself that beautiful, personalized home decorating is accessible and incredibly satisfying.
Every technique you master builds confidence for the next creative challenge. Every successful project proves that good design comes from understanding principles, not having unlimited resources.
Start with one pillow, one technique, one small proof that you can create something beautiful. The confidence and skills you build will extend far beyond seasonal decorating.
Frequently Asked Questions
How long do no-sew pillow covers last compared to sewn ones?
With the right technique, no-sew pillow covers hold up remarkably well. Iron-on hem tape and fabric glue bonds can last two or more seasons with normal use, and I’ve had envelope-fold covers stay together for years. The key is choosing quality adhesive and allowing full curing time (24 hours for fabric glue). In my experience, the weak point is always the fabric choice — heavier cottons and linens outlast lightweight fabrics regardless of the closure method.
Can you machine wash no-sew pillow covers?
Yes — with a few caveats. Envelope-fold covers are completely washable since there’s no adhesive involved. Iron-on hem tape covers can handle gentle machine wash cycles in cold water; avoid hot dryer settings, which can soften the bond. Fabric glue covers (especially Aleene’s Fabric Fusion) are fully washable once cured for 72 hours. Safety-pin and tie-corner styles should be hand-washed or spot-cleaned to protect the closures. Always air dry to extend the life of any no-sew pillow cover.
What’s the cheapest fabric for fall pillow covers that still looks good?
Thrift store curtain panels and tablecloths are my top pick — you get large pieces of quality home-décor fabric for $1–3, often in fall-friendly textures like cotton canvas, linen blends, or even velvet. After that, Walmart fabric clearance racks regularly have home-décor weight fabric for $1–4 per yard at end-of-season. If you want new fabric, JoAnn’s cotton canvas in warm solids (rust, forest green, cream) runs about $4–6 per yard on sale and covers multiple pillows per yard. Avoid cheap quilting cotton — it’s too thin and every flaw shows.
Ready to transform your fall decorating with gorgeous pillow covers that nobody will believe you made without sewing? Pick your technique, gather your supplies, and share your no-sew success stories in the comments—I love seeing these budget creations come to life!
COMING THIS WEEK: → Fall Kitchen Décor: 15 Budget Ideas to Warm Up Your Space (Friday)
→ October Prep: Early Halloween Décor That Works for Fall (Monday)
MORE NO-SEW DIY INSPIRATION: → 15 Dollar Store DIY Projects That Look Expensive
→ DIY Fall Wreaths: 8 Tutorials Using Dollar Store Supplies → Living Room Makeover: Adding Fall Coziness for $60
Leave a Reply