
Okay, I’ll be honest with you. Last year I waited until October 29th to decorate for Halloween, then spent way too much money at Target trying to make my house look festive in two days. Not my finest moment.
This year, I’m doing things differently. I’m starting early, and I’m keeping it cheap. Really cheap. Like, “I can’t believe this only cost me $8” cheap.
So here’s the deal: I’m sharing 7 Halloween DIY projects this week that actually look good (not like something a kindergartner made, though honestly, sometimes those are the best ones). Each project costs under $15 and takes less than 2 hours. Perfect for those of us who have good intentions but terrible time management skills.
Ghost Jars That Actually Look Spooky
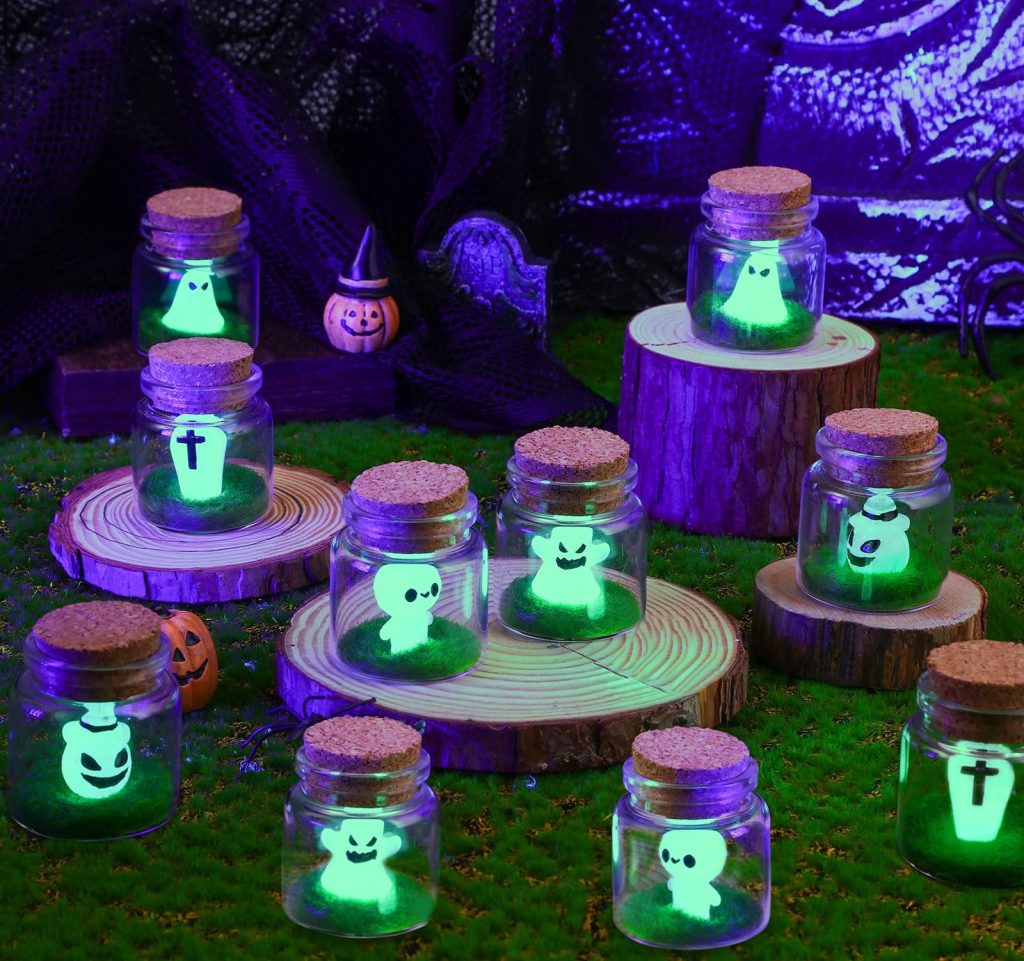
I saw these mason jar ghost lights on Pinterest about 100 times, and they always looked either adorable or ridiculous. Never spooky. But I figured out the trick – it’s all about the gauze draping.
What you need:
- 4 mason jars from Dollar Tree ($4)
- Some gauze from the first aid section ($2)
- Those little battery LED tea lights ($2 for a 6-pack)
- A black Sharpie you probably already have
Wrap the gauze around each jar, but here’s the key – don’t make it neat. Let it hang down in uneven strips. Draw simple faces (dots for eyes, wavy mouth), drop in the LED lights, and you’re done.
The best part? They look completely different when the lights are on versus off. During the day, they’re cute. At night, they’re genuinely eerie.
Cost: $8 total
Newspaper Bats (Because Regular Paper Bats Look Cheap)
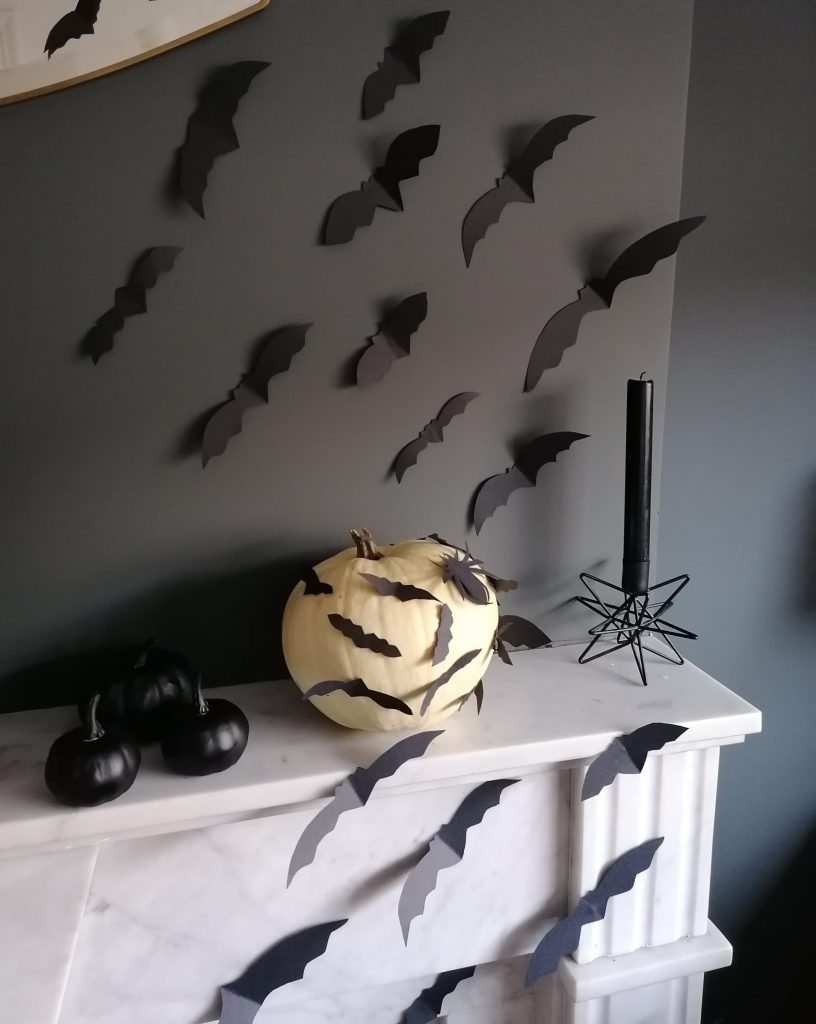
I’ve made paper bats before, and they always looked like… paper bats. The trick is using old newspaper and spray painting it black. The text showing through adds this vintage, haunted library vibe that regular black paper just can’t match.
You need:
- Old newspapers (check your recycling bin)
- Black spray paint ($2)
- Cardboard to make templates
Make templates in different sizes – maybe 3, 5, and 7 inches across. Trace them onto newspaper pages, cut them out, then spray paint everything black. Don’t worry about perfect coverage; letting some of the text show through actually looks better.
I put mine flying down our hallway, starting big and getting smaller as they “fly away.” My neighbor asked if I hired a decorator. I did not tell her about the newspaper part.
Cost: $2
The Doily Spider Web Thing
This sounds ridiculous until you see it. I had these white paper doilies left over from my sister’s baby shower (don’t ask why I still had them), and I was about to throw them away when I realized they already look like spider webs.
Supplies:
- Paper doilies from Dollar Tree ($1)
- Black paint ($2)
- Plastic spiders ($3)
Brush some black paint over the doilies – not completely, just enough to make them look old and dirty. Stick some plastic spiders on there. Suddenly you have these intricate, expensive-looking spider web decorations that cost practically nothing.
I hung some on the walls and draped others over furniture. My mother-in-law asked where I bought them. Victory.
Cost: $6
Potion Bottles (AKA Creative Recycling)
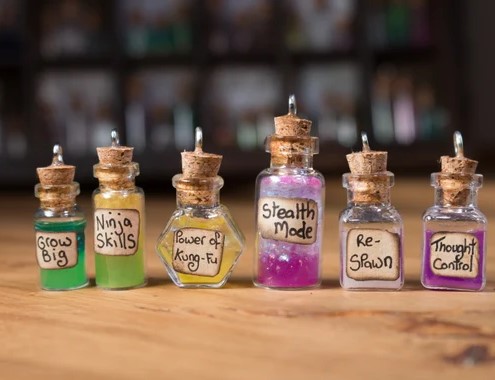
Remember when everyone was obsessed with apothecary jars? Well, you can make your own spooky version with whatever glass containers you have lying around.
I used old pasta sauce jars, a pickle jar, and a couple of small jelly jars. Added some food coloring to corn syrup (makes it thick and gross-looking), threw in some rice to look like specimens, and printed labels on regular paper that I aged with coffee.
What worked:
- “Witch’s Brew” (green corn syrup)
- “Dragon’s Blood” (red food coloring in water)
- “Pickled Newt Eyes” (rice in cloudy water)
The key is making the labels look old. Dip them in coffee, let them dry, then crumple them up a bit. Suddenly your recycled jars look like they came from an actual witch’s house.
Cost: About $10
Cheesecloth Ghosts Done Right
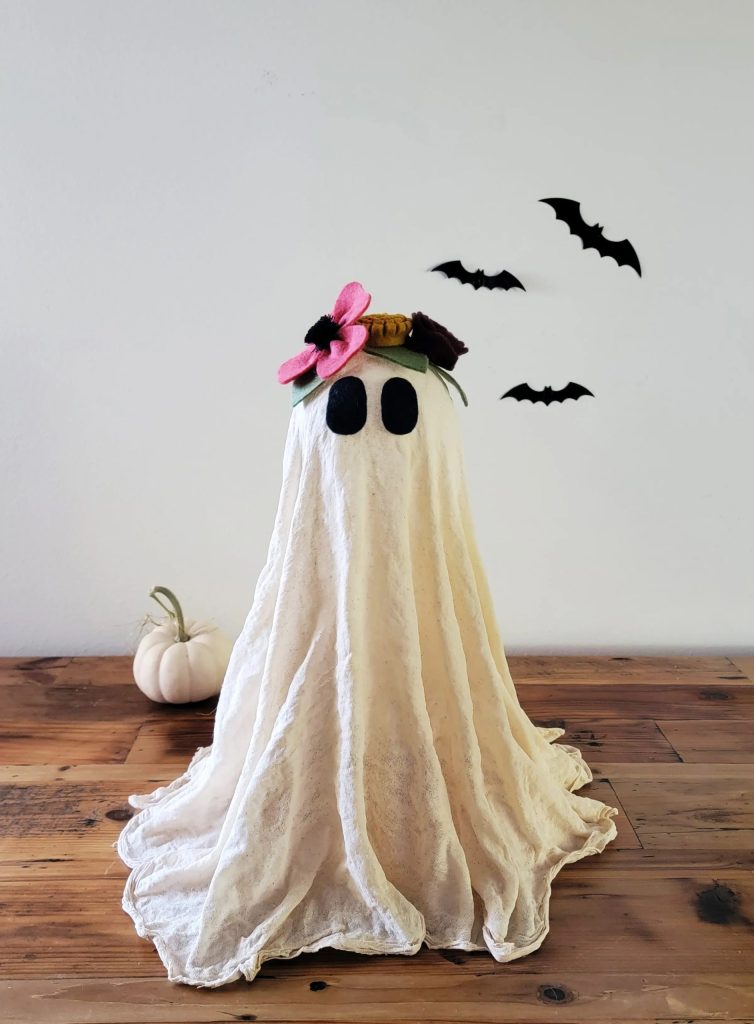
Everyone makes cheesecloth ghosts. Most of them look like someone threw a bedsheet over a basketball. The secret is using different sized forms and hanging them at different heights.
I used styrofoam balls – small, medium, and large – and cheap cheesecloth. Put the ball under the center of the cloth, tie fishing line around the “neck,” then hang them at different levels. The small ones look like baby ghosts, which is somehow both cute and creepy.
Cost: $7
Mini Graveyard for Your Table
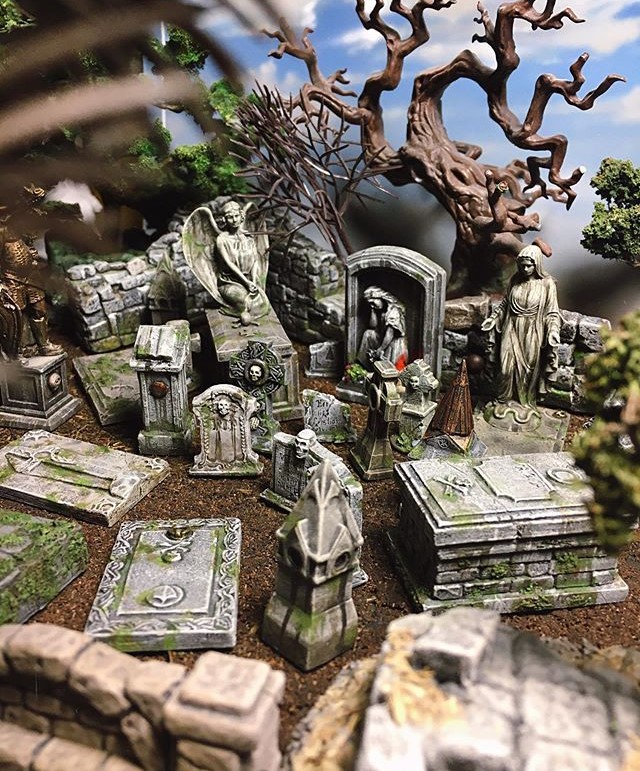
This started as a joke, but it ended up being everyone’s favorite decoration. I made tiny tombstones out of foam board and wrote ridiculous epitaphs like “Here Lies My Summer Body” and “RIP My Will to Exercise.”
Supplies:
- Foam board from Dollar Tree ($2)
- Gray spray paint ($2)
- Moss from outside (free)
- Tiny skeletons ($4)
The tombstones took about an hour to make, including drying time. I arranged them on a tray with some moss and the little skeletons. It’s morbid and funny at the same time, which is basically the perfect Halloween decoration.
Cost: $8
The Bat Wall Situation
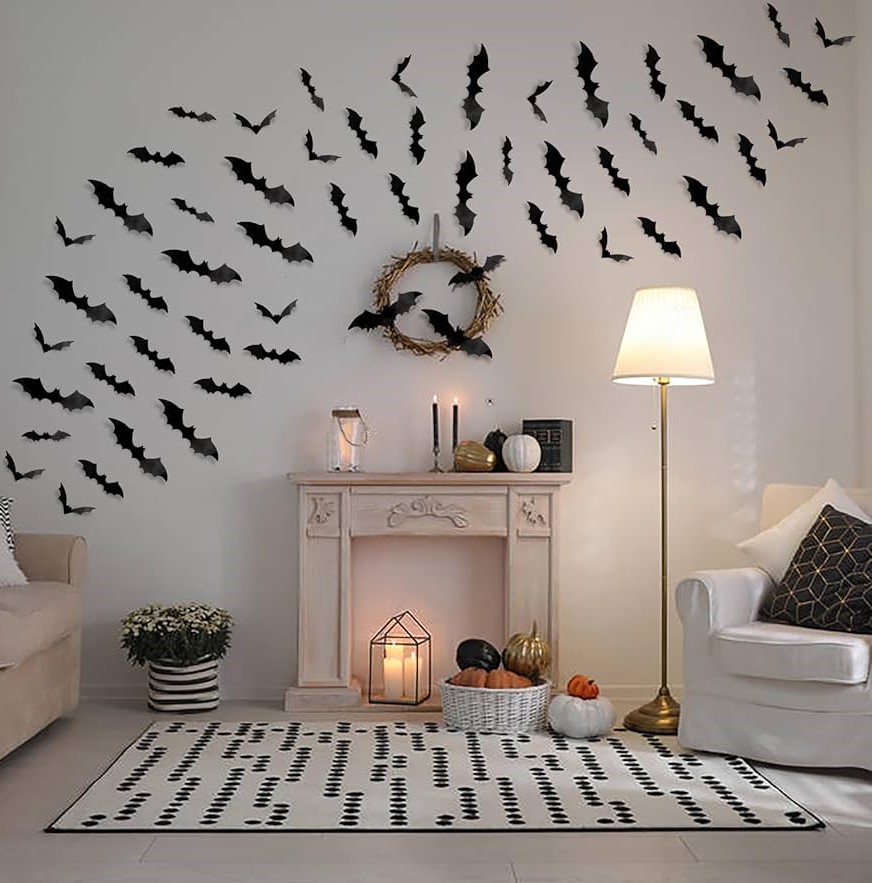
Okay, this isn’t exactly a project, it’s more like strategic newspaper placement, but whatever. After I made all those newspaper bats, I had extras. So I made a whole colony flying up our stairway wall.
The trick is arranging them so they look like they’re actually flying somewhere, not just randomly stuck to the wall. Start with bigger ones at the bottom and make them smaller as they “fly” up. It took maybe 20 minutes and uses leftover materials from the other bat project.
Cost: $0 (using leftovers)
What I Learned This Week
First, Dollar Tree is basically Halloween headquarters — and they’re great for dollar store DIY projects well beyond October too. Second, spray paint fixes everything. Third, my neighbors think I’m way more crafty than I actually am.
Total spent this week: $51 for all seven projects. That’s less than I spent on one “decorative pumpkin” at Pottery Barn last year. (Yes, I spent $35 on a foam pumpkin. I’m not proud.)
The best part? Everything stores flat or packs away easily, so I won’t have the same storage nightmare I had last year when I tried to fit a 4-foot skeleton into my closet.
Next week I’m tackling outdoor decorations, because apparently I’m the house that goes all out now. My husband is thrilled. (He is not thrilled.)
What are you decorating this week? And please tell me I’m not the only one who gets overly excited about Halloween in the first week of October.
P.S. – If you want the potion bottle labels I made, they’re free to download here. I spent way too much time making them fancy, so someone else might as well use them.
Frequently Asked Questions
How much should I budget for Halloween DIY decorations?
You can create an impressive Halloween display for $30-$60 total. Spread your budget across a few categories: lighting ($8-10), tabletop accents ($10-15), and wall or window decor ($8-12). Dollar Tree and your recycling bin do most of the heavy lifting. The seven projects in this Week 1 guide came in at just $51 combined — less than a single decorative pumpkin at Pottery Barn.
Which Halloween DIY projects look the most impressive for the least effort?
Ghost jars with LED lights and cheesecloth ghosts consistently get the biggest reactions for the smallest time investment — both take under 30 minutes and cost under $10. The mini graveyard centerpiece is also a crowd favorite because people genuinely can’t believe it’s foam board and spray paint. Newspaper bats are a close runner-up for sheer “you didn’t buy those?” reactions.
How do I store handmade Halloween decorations so they last next year?
Flat storage is your best friend for paper and fabric projects — slide newspaper bats and doily webs between sheets of wax paper inside a flat box. For 3D items like ghost jars and potion bottles, wrap them in newspaper and stack in a labeled plastic bin. Tape a photo of each arrangement to the outside so future-you remembers exactly how everything looked.
More >
Leave a Reply