I spent $180 on frames for a gallery wall before realizing I could’ve done the exact same thing for $40. The expensive version had matching black frames from West Elm and Crate & Barrel. The budget version (which I created a year later in my new apartment) mixed thrifted frames, dollar store finds, and IKEA basics—and honestly looked better because it had more visual interest.
The mistake I made the first time was thinking I needed to buy everything new and matching. Gallery walls actually look more interesting with mixed frame styles, and you can source affordable frames from thrift stores, dollar stores, and clearance racks without anyone knowing. The hard part isn’t finding cheap frames—it’s planning the layout so it looks intentional instead of random.
I’ve helped four friends plan budget gallery walls since then (ranging from $35 to $95), and I figured out a simple planning method that works even if you have zero design experience. If you’re trying to create a gallery wall without spending $150+ on frames, here’s how to plan it, source affordable frames, and hang everything without 47 nail holes in your wall. (For more budget decorating strategies, check out my full guide on home decorating on a budget.)
Step 1: Choose Your Layout Before Buying Frames
This is the step I skipped the first time (which is why I ended up with random frames that didn’t fit together). Interior designer Alicia Park told me, “Most people buy frames they like and then try to arrange them. That’s backwards. Pick your layout first, measure the wall space, then buy frames that fit the plan.”
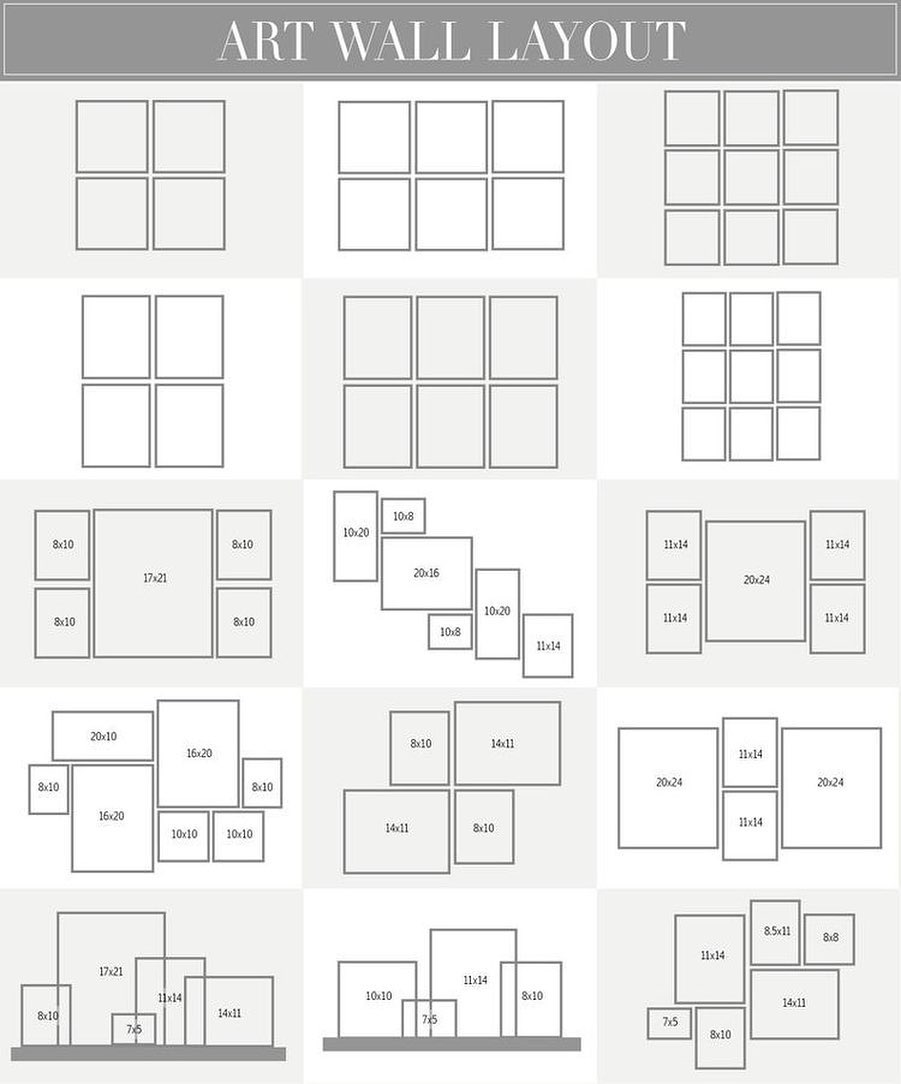
Here are the three easiest gallery wall layouts for beginners:
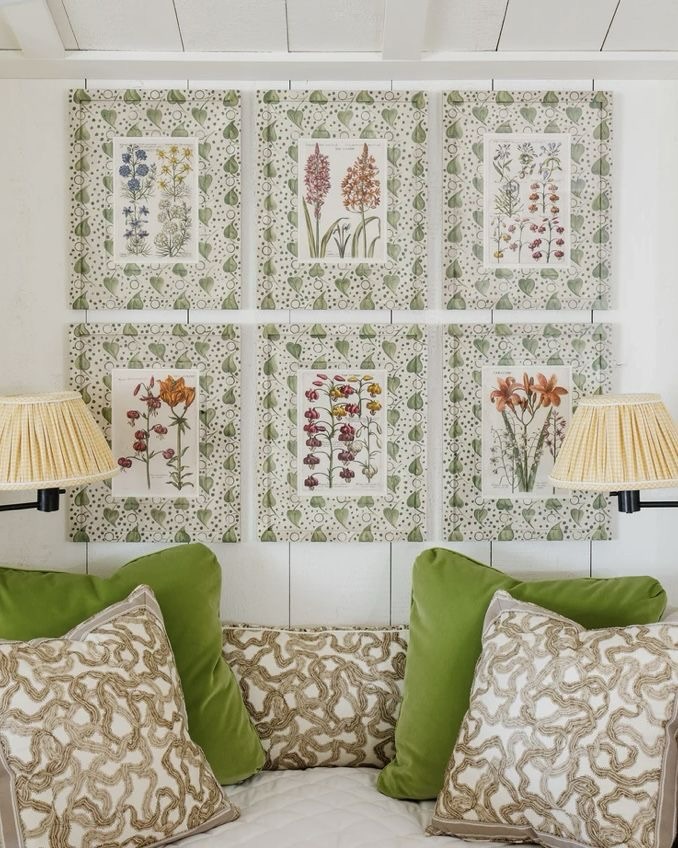
Layout 1: Grid (3×3, 2×3, or 4×2)
What it is: All frames the same size, arranged in evenly spaced rows and columns
Difficulty: Easy (just measure spacing)
Best for: Clean, modern look, small to medium walls
Frame count: 6-12 frames
This was my budget version—I used nine 8×10 frames in a 3×3 grid above my couch. All frames were the same size (so measuring was simple), but I mixed frame colors (three black, three white, three gold) to keep it interesting.
How to plan it:
- Decide frame size (8×10 is cheapest and most widely available)
- Decide spacing between frames (I used 2 inches horizontal and vertical)
- Measure your wall and calculate if the grid fits
- Example: 3×3 grid of 8×10 frames with 2-inch spacing = 30 inches wide x 34 inches tall
Frame sourcing for grids: Buy all the same size so you can mix-and-match from different stores. You don’t need matching frames—varied finishes (black, white, wood, gold) look better anyway.
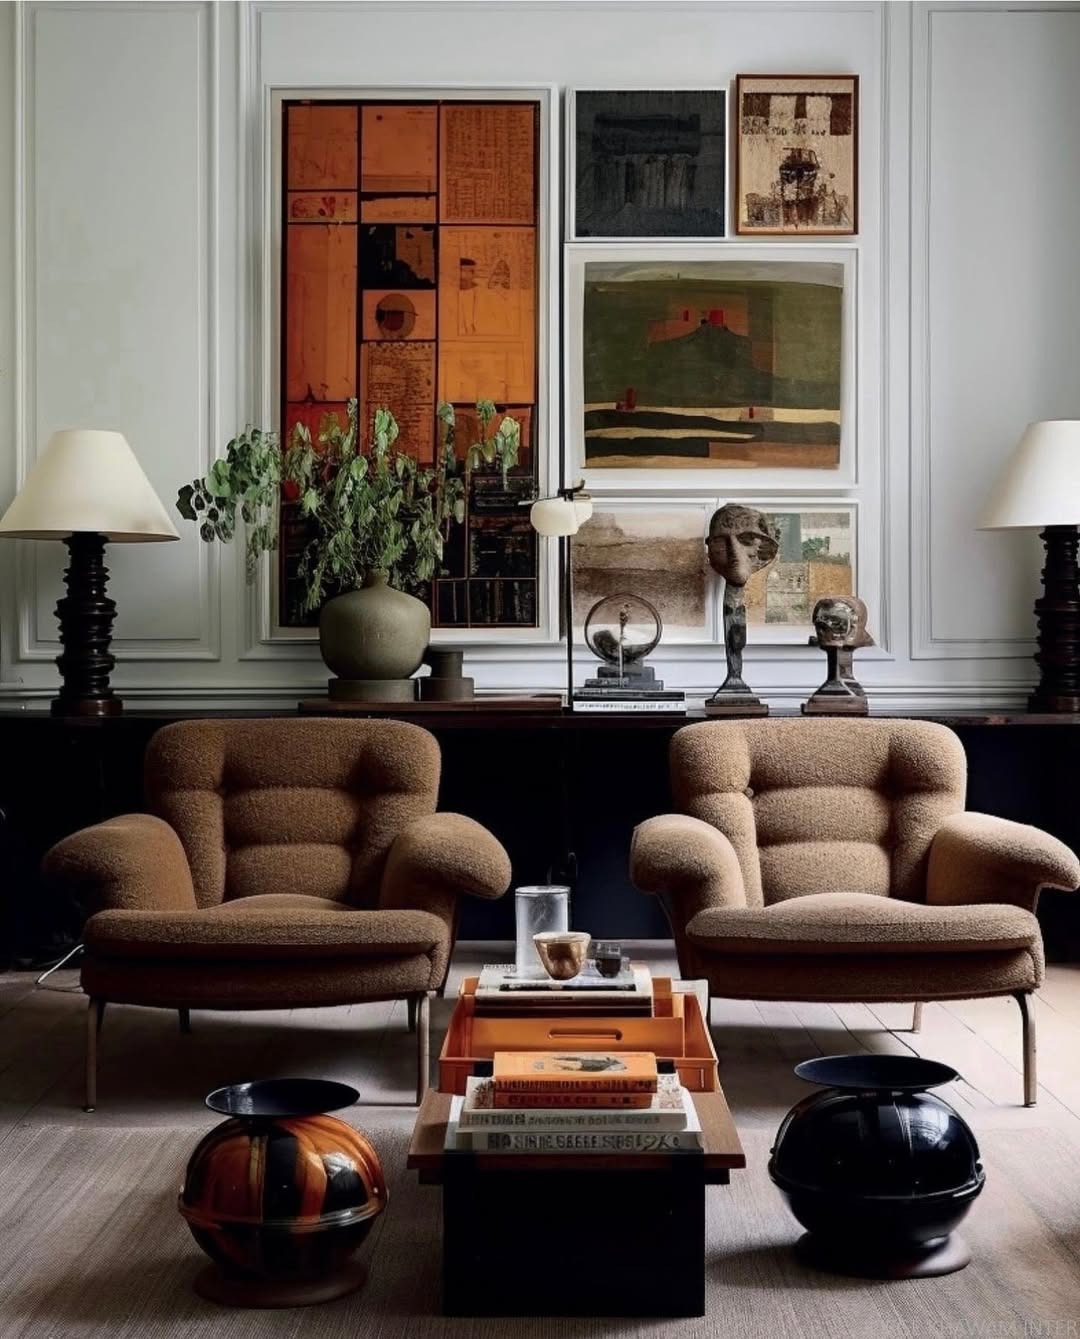
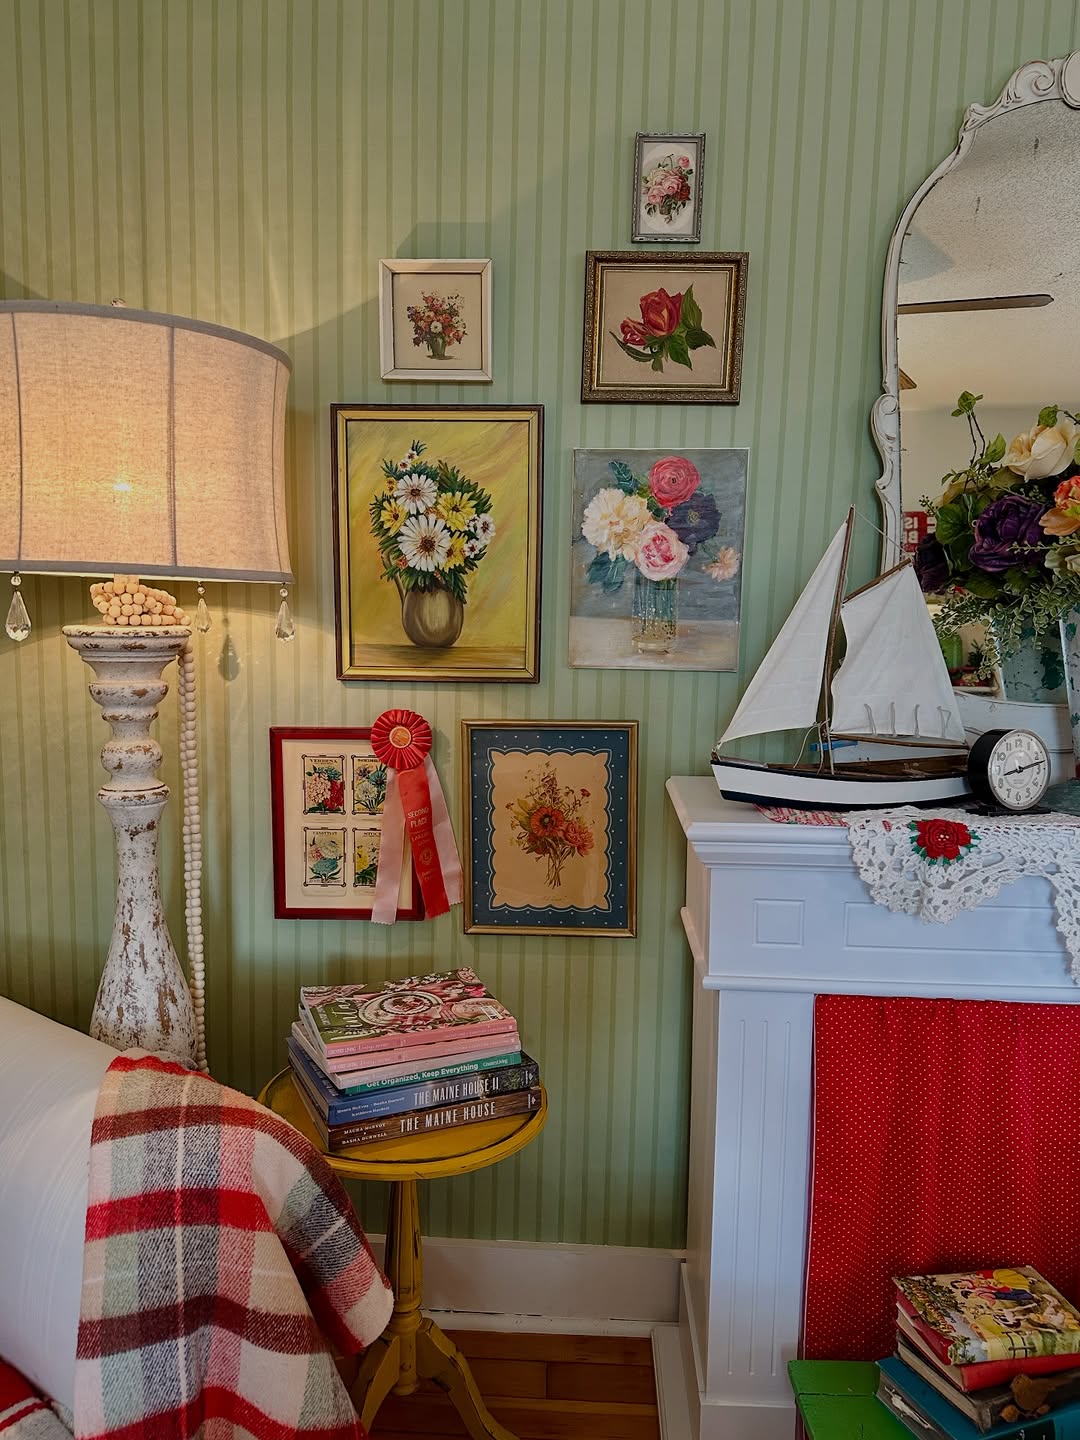
Layout 2: Salon Style (Mixed Sizes, Organic Arrangement)
What it is: Frames of different sizes arranged to fill a space, touching or nearly touching edges
Difficulty: Medium (requires planning on paper first)
Best for: Eclectic, lived-in look, large walls, mix of art and photos
Frame count: 8-20 frames
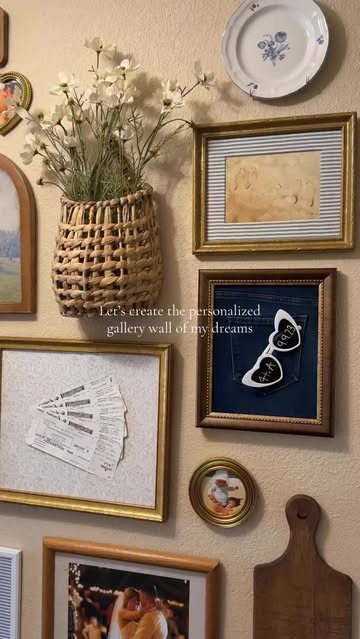
My friend Sarah has a salon-style gallery wall in her hallway using 12 frames ranging from 4×6 to 11×14. She mixed family photos, art prints, and thrifted vintage frames. It looks like it was collected over time (which it was—she added frames over 6 months as she found them at thrift stores).
How to plan it:
- Tape paper templates (cut to frame sizes) on the wall and arrange until you like it
- Or lay frames on the floor to test arrangements
- Snap a photo of the final arrangement before hanging
Frame sourcing for salon style: This layout is made for budget frames. Mix thrift store finds, dollar store frames, and clearance IKEA frames. The variety is the point.
Layout 3: Horizontal Line (3-5 Frames in a Row)
What it is: 3-7 frames of the same or similar size, arranged in a single horizontal line
Difficulty: Easy (just level them)
Best for: Above couches, beds, or consoles, minimalist spaces
Frame count: 3-7 frames
I used this layout above my bed—five 8×10 frames in a row, all at the same height. It’s the easiest gallery wall to plan and hang because you only need to measure one horizontal line.
How to plan it:
- Measure your furniture width (couch, bed, console)
- Gallery wall should be 2/3 to 3/4 the width of furniture below it
- Example: 72-inch couch → gallery wall should be 48-54 inches wide
Frame sourcing for horizontal lines: Since all frames are visible at once (not competing for attention like in salon style), you can get away with ultra-budget frames. I used five $3 IKEA FISKBO frames and no one has ever commented that they look cheap.
Step 2: Set Your Budget and Source Frames Strategically



Here’s what I spent on three different gallery walls:
Budget Gallery Wall #1 (My first apartment, 9-frame grid):
- 9 frames from West Elm and Crate & Barrel: $180
- Art prints: $45 (Etsy)
- Total: $225
Budget Gallery Wall #2 (My current apartment, 9-frame grid):
- 6 frames from thrift stores: $12 (average $2 each)
- 3 frames from Dollar Tree: $3.75
- Art prints: $0 (downloaded free printables from museums + printed at home)
- Total: $15.75
Budget Gallery Wall #3 (My friend Sarah’s salon-style, 12 frames):
- 7 frames from thrift stores: $14 (average $2 each)
- 3 frames from IKEA: $9 (FISKBO, $3 each)
- 2 frames from Dollar Tree: $2.50
- Art/photos: $15 (printed at Costco Photo Center)
- Total: $40.50
The cheap versions looked just as good (arguably better) than my expensive first attempt. Here’s where to find affordable frames:
Best Frame Sources by Budget Tier
Ultra-Budget (Under $3 per frame):
- Dollar Tree frames ($1.25 for 5×7, 8×10, sometimes 11×14)
- Thrift stores (Goodwill, Salvation Army): $1-$3 per frame
- Facebook Marketplace/Craigslist: free to $5 for sets
Budget (Under $5 per frame):
- IKEA FISKBO ($2.99-$4.99)
- Target Threshold frames (clearance: $5-$8)
- Ross/TJ Maxx/HomeGoods clearance: $4-$10
Mid-Range (Under $15 per frame):
- IKEA RIBBA ($9.99-$14.99, nicer than FISKBO)
- Target Room Essentials ($7-$12)
- Amazon Basics frames ($10-$15)
Designer Rachel Kim told me, “Unless you’re hanging art worth hundreds of dollars, you don’t need expensive frames. A $2 thrift store frame with a fresh coat of spray paint looks identical to a $25 new frame. Save money on frames and spend it on good art instead.”
How to Make Cheap Frames Look Expensive
I’ve upgraded probably 15 thrift store frames with these tricks:
1. Spray paint mismatched frames the same color
I bought 6 thrift store frames in different finishes (wood, brass, plastic) for $10 total. I spray-painted all of them matte black ($6 for spray paint). They look like they came from the same store.
2. Replace cheap-looking mat boards
Dollar Tree frames come with thin, flimsy mats. I bought white mat board from Michael’s ($5 for a sheet) and cut custom mats. Instantly upgraded the whole look.
3. Mix frame styles but keep colors consistent
Instead of all the same frame, I mix black, white, and wood finishes—but I stick to just those three finishes. It looks curated instead of random.
4. Use high-quality art (not the frame)
A $2 frame with beautiful art looks better than a $30 frame with mediocre art. Download museum artwork for free (Met Museum, National Gallery, Rijksmuseum all have free high-res downloads). Print at Costco Photo Center for $2-$5 per print.
Interior designer Marcus Webb said, “People notice bad art way before they notice cheap frames. If your prints look good and your frames are clean and damage-free, no one will know or care where they came from.”

Step 3: Plan Your Layout on Paper (Or the Floor)
Do NOT start hammering nails until you’ve planned the layout. I learned this the hard way—I have 14 unnecessary nail holes hidden behind my first gallery wall.
Here’s the method that actually works:
The Paper Template Method
- Cut paper templates the exact size of each frame
- Tape them to the wall in your desired arrangement
- Adjust until it looks right
- Use a level to make sure they’re straight
- Mark nail locations with a pencil through the paper
- Remove paper, hammer nails, hang frames
Interior designer Jen Lopez told me, “I use this method with every client. It takes 20 extra minutes but saves hours of frustration and a wall full of holes. The paper shows you spacing problems before you’ve committed.”
I did this for my 9-frame grid—I cut 9 pieces of paper to 8×10, taped them in a grid on the wall, stepped back, and realized the spacing looked too tight. I adjusted to 3 inches between frames instead of 2, marked the spots, and hung everything on the first try. Zero extra nail holes.
The Floor Layout Method (for Salon Style)
If you’re doing a mixed-size salon-style gallery wall, plan it on the floor first:
- Lay all frames on the floor in front of the wall you’re decorating
- Arrange them until you like the composition
- Take a photo from above (you’ll reference this while hanging)
- Start hanging from the center and work outward
My friend Sarah spent 45 minutes arranging her 12 frames on the floor before hanging any. She took a photo of the final arrangement, then hung the centerpiece frame first and worked outward from there. The whole gallery wall took 90 minutes to hang and looks professional.
Step 4: Hang Your Gallery Wall Without Destroying Your Wall


Here are the hanging methods I’ve tested:
For Renters: Command Picture Hanging Strips
Pros: No holes, damage-free removal, holds up to 16 pounds per set
Cons: More expensive than nails ($5-$10 per pack), can’t reposition once stuck
I used Command strips for my rental apartment gallery wall. They worked perfectly for two years, then peeled off cleanly when I moved. I used the medium strips ($7 for 6 sets) for 8×10 frames, heavy-duty strips ($10 for 3 sets) for 11×14 frames.
Tips for Command strips:
- Clean the wall with rubbing alcohol before applying (they won’t stick to dusty walls)
- Press firmly for 30 seconds
- Wait 1 hour before hanging frames
- Pull straight down (not out) when removing
For Homeowners: Picture Hanging Kit
Pros: Cheap ($10 for a kit with nails, hooks, and wire), easy to reposition
Cons: Leaves holes in the wall (need to patch/paint when moving)
I use regular picture hanging hooks (the ones with thin angled nails) for my current apartment. A $10 hanging kit from Home Depot has 50+ hooks in various sizes. The nail holes are tiny and easy to patch with spackle when I move out.
The Level Trick That Saves Your Sanity
Do NOT eyeball level frames. I’ve tried. They always end up crooked.
Use a level ($8-$12 at hardware stores) or a level app on your phone (free). Mark the nail spot with a pencil, hold the level against the mark, adjust until the bubble is centered, then hammer. This takes 10 extra seconds per frame and prevents the “one frame is slightly tilted and now the whole wall looks wrong” problem.
Designer Rachel Kim told me, “I’ve seen $500 gallery walls look cheap because frames aren’t level. And I’ve seen $40 gallery walls look expensive because every frame is perfectly straight. Level frames are the one non-negotiable.”
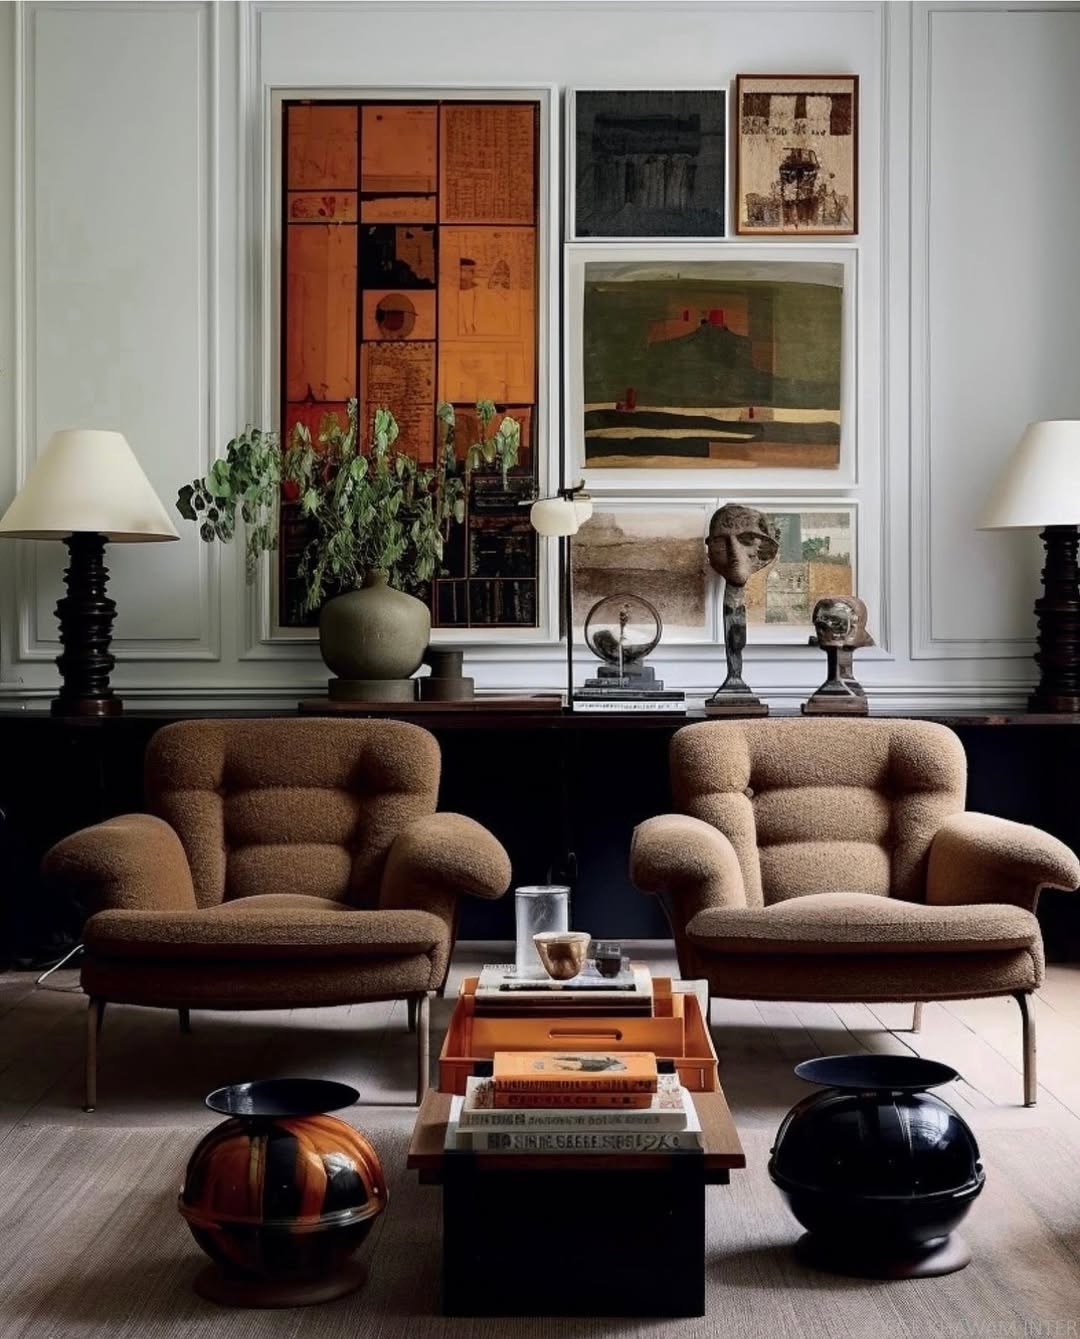
Real Gallery Wall Budgets: 3 Examples
Here’s what I and two friends actually spent creating gallery walls:
Example 1: My 9-frame grid above couch (small to medium wall, 40 inches x 36 inches)
- 6 thrift store frames: $12
- 3 Dollar Tree frames: $3.75
- Spray paint (matte black to match all frames): $6
- Free museum printables: $0
- Printing at home (ink/paper): $3
- Command strips: $12 (2 packs)
- Total: $36.75
Example 2: My friend Sarah’s 12-frame salon wall (large wall, 60 inches x 48 inches)
- 7 thrift store frames: $14
- 3 IKEA FISKBO: $9
- 2 Dollar Tree frames: $2.50
- Photos printed at Costco: $15
- Nails and hooks: $0 (she had them)
- Total: $40.50
Example 3: My friend Emma’s 5-frame horizontal line above bed (medium wall, 48 inches x 10 inches tall)
- 5 IKEA FISKBO frames (8×10 white): $15
- Art prints from Etsy: $25
- Command strips: $7
- Total: $47
All three gallery walls have been up for 1-2 years and still look great. None of us have regretted the budget approach or wished we’d spent more on expensive frames.
What I Wish I’d Known Before My First Gallery Wall
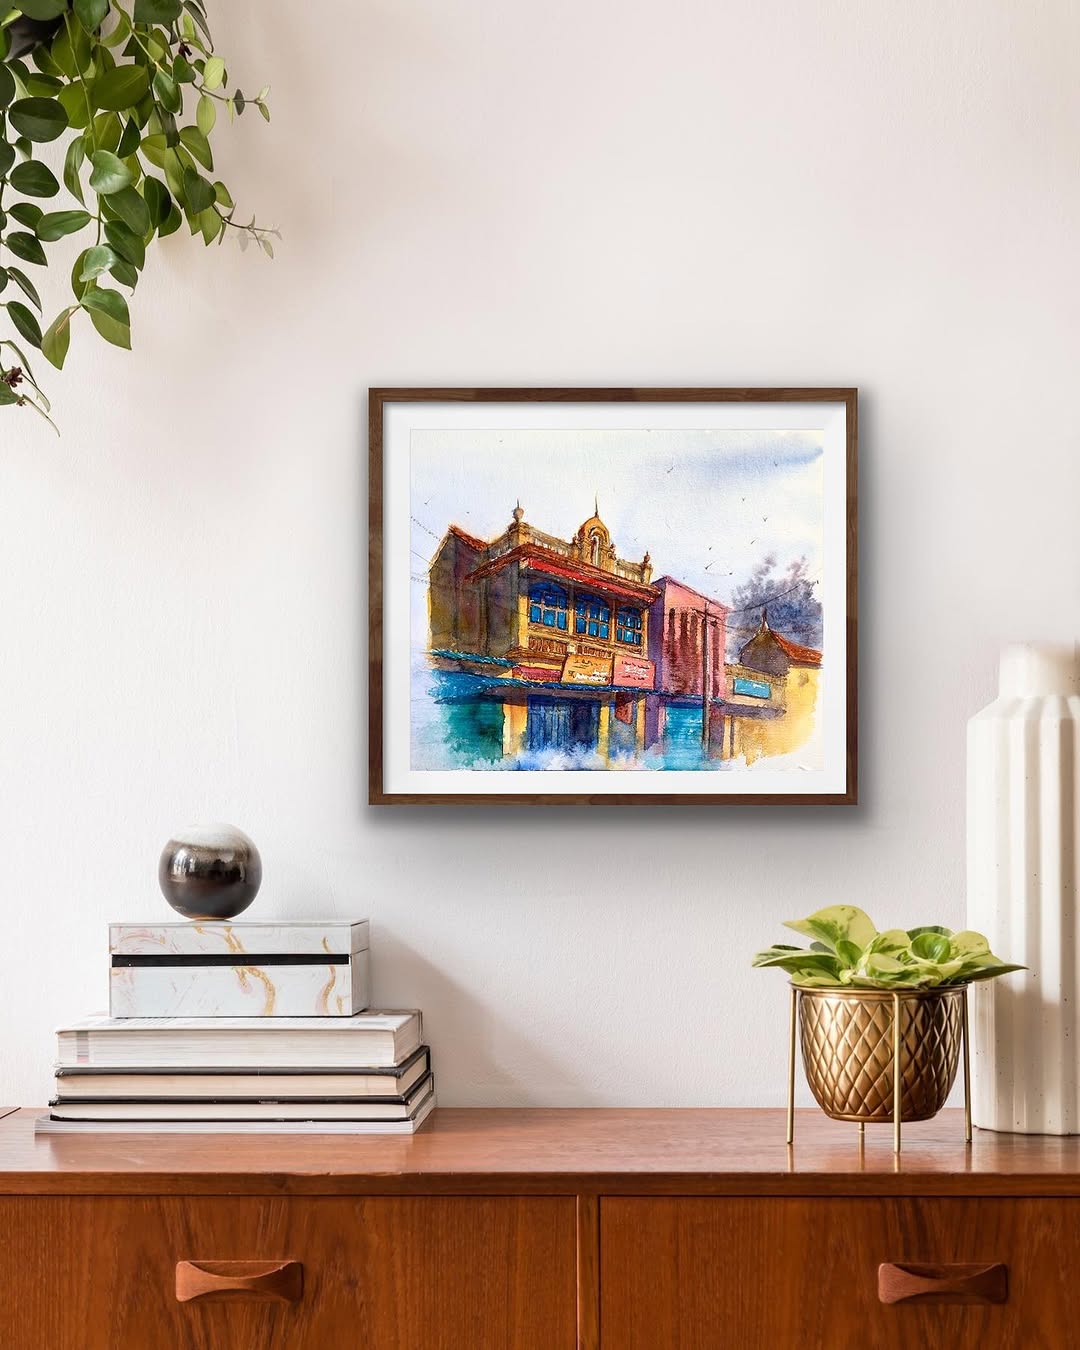
Here are the mistakes I made (so you don’t have to):
1. I bought frames before planning the layout
I ended up with 3 frames I couldn’t use because they didn’t fit the spacing I wanted. I had to return them (annoying) and buy different sizes.
Fix: Plan your layout on paper first, then shop for frames in the exact sizes you need.
2. I mixed too many frame colors
My first attempt had black, white, gold, silver, natural wood, and painted wood frames. It looked chaotic instead of curated.
Fix: Stick to 2-3 finishes max (example: black + white + gold, or all natural wood tones).
3. I hung frames too high
Gallery walls should be at eye level (center point at 57-60 inches from the floor). I hung mine at 65 inches and it felt awkward.
Fix: Measure 57-60 inches from the floor to the center of your gallery wall. Mark with painter’s tape before hanging.
4. I used frames that didn’t fit my art
I bought 8×10 frames, then realized most of my art prints were 8.5×11 (standard paper size). I had to trim or re-print everything.
Fix: Measure your art before buying frames. Or buy digital prints sized specifically for standard frames (8×10, 11×14, 16×20).
5. I didn’t budget for printing costs
I found free printable art online, then spent $35 printing it at FedEx because I didn’t have a home printer. Printing ate half my “budget” gallery wall budget.
Fix: Print at Costco Photo Center or Walmart Photo ($2-$5 per 8×10 print). Or buy digital art on Etsy pre-sized for standard frames ($3-$8 for a set of 3-6).
For more honest lessons from my decorating mistakes, check out my Pinterest vs reality home decor article—it’s about what actually works versus what looks good in photos.
How to Curate Art for a Budget Gallery Wall
You don’t need to buy expensive art. Here’s where I source prints for under $5 each:
Free sources:
- Museum collections (Met Museum, Rijksmuseum, National Gallery) — download high-res artwork for free
- Unsplash/Pexels — free high-quality photography, just print it
- Your own photos — print travel photos, family photos, or phone photography at Costco
Cheap sources ($3-$8 per print):
- Etsy digital downloads — buy once, print multiple sizes
- Society6 — sales often bring prints down to $10-$15
- Minted — clearance section has prints for $8-$12
Designer Marcus Webb told me, “The best gallery walls mix personal photos with art. It tells a story instead of looking like a generic catalog spread. Don’t be afraid to include family photos, travel shots, or even screenshots of text you love. Personal is more interesting than perfect.”
My current gallery wall has:
- 3 museum art downloads (free)
- 2 travel photos from my phone ($4 to print at Costco)
- 2 Etsy digital prints ($6 for a set of 3)
- 2 family photos (free, I already had them)
Total art cost: $10. All in budget thrift store and dollar store frames. The whole wall cost $36.75 and I’ve had multiple guests ask where I got my “beautiful gallery wall.”
Renter-Friendly Gallery Wall Alternatives
If you can’t put holes in your walls (or don’t want to), here are alternatives that work:
1. Leaning gallery wall on a shelf or floor
Instead of hanging frames, lean them on a floating shelf or on the floor against the wall. This works for 3-7 frames in a horizontal arrangement. I did this on my bookshelf and it looks intentional.
2. Picture rail or ledge
IKEA sells picture ledges (MOSSLANDA, $10-$15) that mount with Command strips or screws. Frames lean on the ledge, so you can rearrange without new holes.
3. Corkboard or pegboard gallery wall
Mount a large corkboard or pegboard to the wall (Command strips or minimal nails), then attach frames with pushpins or pegs. You can rearrange without making new holes.
4. Washi tape gallery wall (temporary)
Tape art directly to the wall with washi tape (no frames needed). This is ultra-temporary and works for renters who want zero damage. I did this in my last apartment and it lasted 18 months before I changed it.
For more renter-friendly decor ideas, check out my renter-friendly bathroom makeover guide—similar no-damage strategies.
How Long It Takes to Plan and Hang a Gallery Wall
Planning (paper templates or floor layout): 30-60 minutes
Hanging (with pre-planned layout): 30-90 minutes depending on frame count
Total time commitment: 1-2.5 hours
My first gallery wall (before I knew what I was doing) took 4 hours because I kept rearranging and making extra nail holes. My second gallery wall (using the paper template method) took 90 minutes total and came out perfect on the first try.
If you’re short on time, do the planning one day and the hanging another day. Rushing the planning phase is where mistakes happen.
What My Gallery Wall Looks Like Now
I have a 9-frame grid above my couch:
- Three black frames (thrift store, spray-painted)
- Three white frames (Dollar Tree)
- Three gold frames (two thrift, one Dollar Tree)
- All 8×10 size
- 3-inch spacing between frames
- Total size: 34 inches wide x 38 inches tall
- Total cost: $36.75
It’s been up for 18 months. I’ve swapped out the art twice (because I got bored, not because anything broke). The frames still look perfect. And every single person who visits asks where I got it, assuming I spent $150+.
If you’re trying to decorate on a budget and want something that looks intentional and expensive, a gallery wall is one of the best ROI projects. It fills a big empty wall, costs under $50 if you’re strategic, and you can DIY it in an afternoon. Just plan your layout before you start buying frames, and you’ll save yourself time, money, and a wall full of regrettable nail holes.
For more budget-friendly decluttering that makes gallery walls stand out more, check out the reverse hanger method for decluttering—clear walls need clear spaces around them to really shine.
Frequently Asked Questions
A budget gallery wall costs $30-$80 depending on frame count and art sourcing. My 9-frame grid cost $36.75 using thrift store frames, Dollar Tree frames, free museum art downloads, and home printing. Sourcing frames from thrift stores ($1-$3 each) and Dollar Tree ($1.25 each) instead of West Elm or Target ($15-$30 each) cuts costs by 80-90%.
A grid layout (3×3, 2×3, or 4×2) is easiest because all frames are the same size and spacing is uniform. Measure once, repeat the same spacing for each frame. I used nine 8×10 frames in a 3×3 grid with 3-inch spacing—took 90 minutes to plan and hang. Horizontal line layouts (3-7 frames in a row) are also beginner-friendly.
Use Command Picture Hanging Strips for rentals or if you want damage-free removal (holds up to 16 pounds, costs $5-$10 per pack). Use picture hanging hooks with nails for permanent installations ($10 for a kit with 50+ hooks). Command strips cost more upfront but leave zero holes. Nails are cheaper but require spackling when you move.
Best sources: Dollar Tree ($1.25 for 5×7 and 8×10 frames), thrift stores like Goodwill ($1-$3 per frame), IKEA FISKBO ($2.99-$4.99), and Facebook Marketplace/Craigslist (often free). Spray paint mismatched thrift store frames one color for a cohesive look. I built a 9-frame gallery wall for under $40 mixing these sources.
Cut paper templates the exact size of each frame, tape them to the wall, and arrange until you like the layout. Mark nail spots with a pencil through the paper, remove the templates, then hang. This method takes 20 extra minutes but prevents repositioning and multiple nail holes. I went from 14 unnecessary holes (first attempt) to zero extra holes (second attempt using templates).
For more budget home ideas, check out our guide to How to Create a Reading Nook.
For more budget home ideas, check out our guide to Best Paint Colors for Small Rooms.
Leave a Reply