Okay, real talk. Last week I was at Target (again – why do I keep going there thinking I’ll only spend $20?) and my 8-year-old picked up this Halloween garland that cost FORTY-SEVEN DOLLARS.
Forty. Seven. Dollars.
For what was basically some felt shapes glued to string.
I stood there in the seasonal aisle having one of those internal mom battles: Do I buy it because it would make her happy, or do I channel my inner crafty mom and figure out how to make something even better for way less money?
Spoiler alert: We walked out empty-handed, but I promised her we’d make something “even more awesome” at home. (Note to self: stop making promises I’m not 100% sure I can keep.)
Three cups of coffee and one Pinterest rabbit hole later, here’s what happened…
Why I Actually Love Making Halloween Garland (Even When I’m Tired)
Look, I’m not one of those moms who has a perfectly organized craft room and color-coded supplies. My “craft supplies” live in a repurposed diaper box under my kitchen table, and half the time I’m digging through it looking for a glue stick that actually has glue in it.
But here’s what I’ve learned about making my own Halloween decorations:
My kids think I’m basically a wizard. When I pulled out scissors and started cutting ghost shapes, my daughter literally gasped and said, “Mom, you’re SO good at this!” (Meanwhile, I’m just winging it and hoping the ghosts don’t look like deformed marshmallows.)
It’s cheaper than therapy. There’s something weirdly therapeutic about cutting paper while my kids do homework at the kitchen table. It’s like meditation, but with more glitter somehow ending up in my hair.
Store-bought stuff breaks. Remember that expensive garland I almost bought? My friend got it, and it literally fell apart three days into October. Three days! My homemade garland from last year? Still hanging strong in my basement storage.
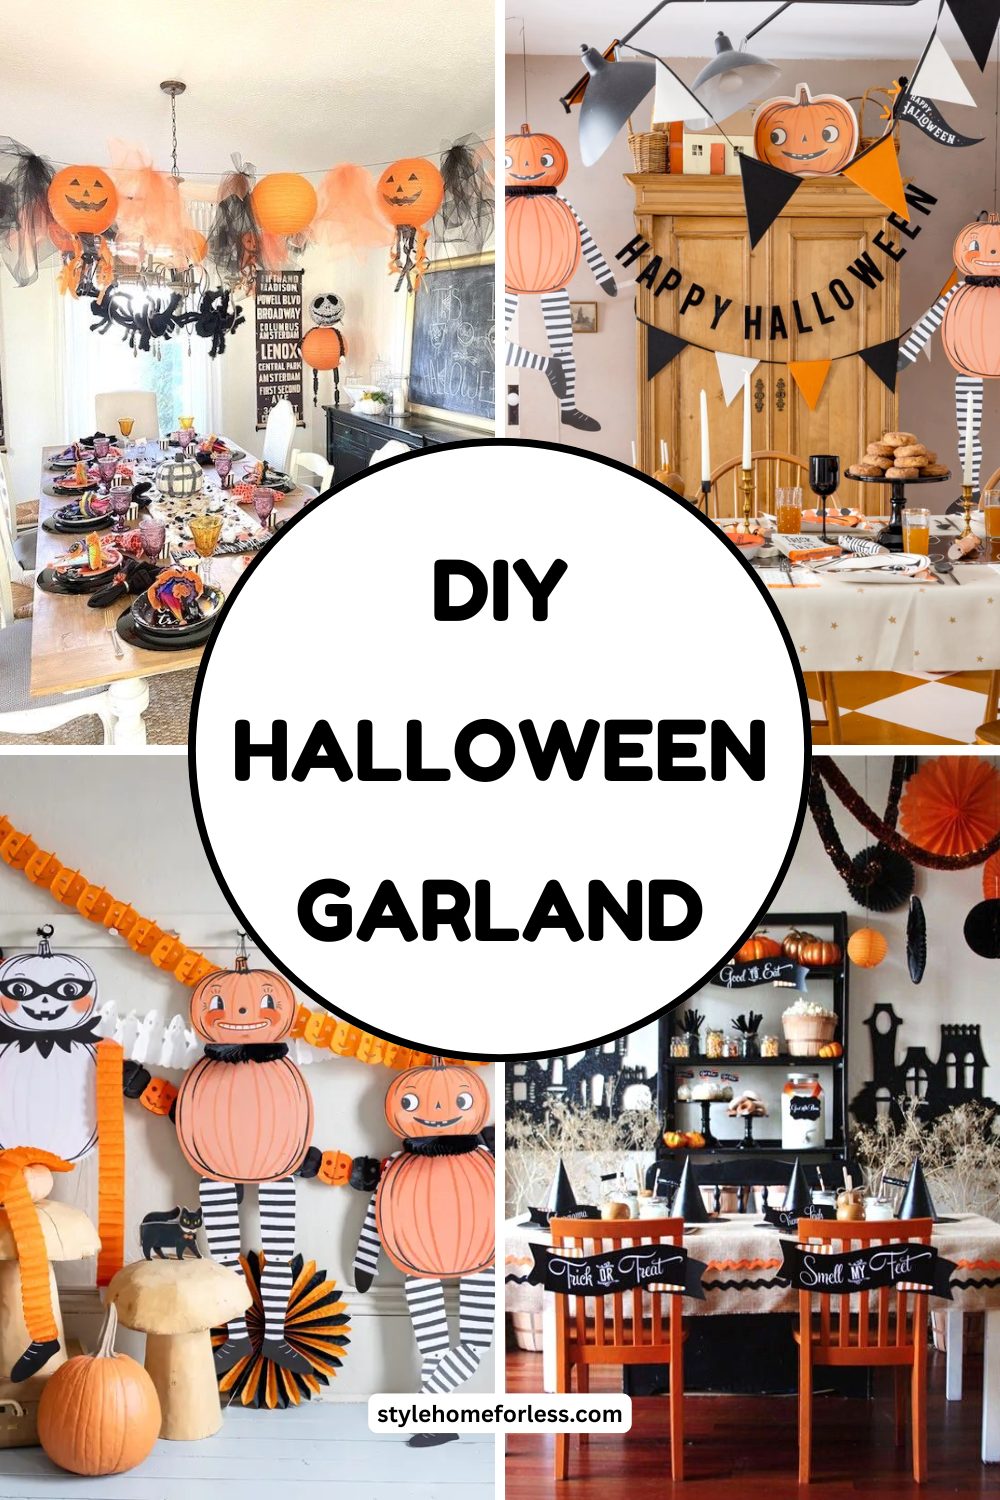
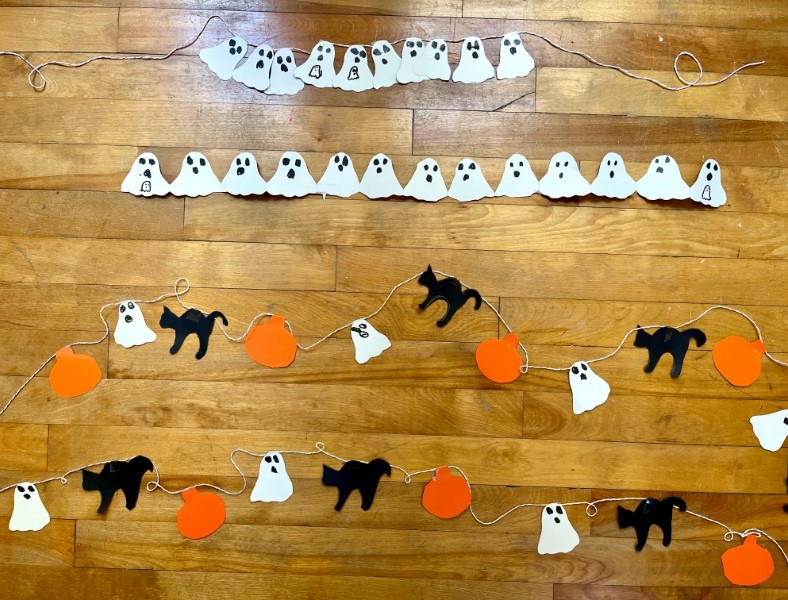
The Three Garlands That Saved My Sanity (And My Budget)
The “Oh Crap, I Forgot About the School Party” Ghost Garland
Cost: $12 | Time: 45 minutes (including the time I spent looking for scissors)
This happened because I completely spaced on my daughter’s class Halloween party until 9 PM the night before. I volunteered to bring decorations. Classic me.
What I Scrounged Up:
- White paper from my printer (ran out halfway through, had to use my son’s sketch pad)
- Black Sharpie (found three dried-out ones before finding one that worked)
- Glue stick (miracle of miracles, it wasn’t dried out)
- White thread from my sewing kit (aka the random drawer in my kitchen)
What Actually Happened: I cut out about 20 ghost shapes, and honestly? The first few looked pretty rough. But here’s the thing – by ghost number 10, I had it figured out. And the wonky ones? They actually had the most personality.
My kids came downstairs while I was working and started naming each ghost. “That one’s Bob. That one’s Scary Gary.” Suddenly my rushed craft project became a family thing.
Real Talk: I hung this in my daughter’s classroom, and three other moms asked where I bought it. BOUGHT IT. I may have preened a little.
The “This Looks Fancy But I Made It in My Pajamas” Leaf Garland
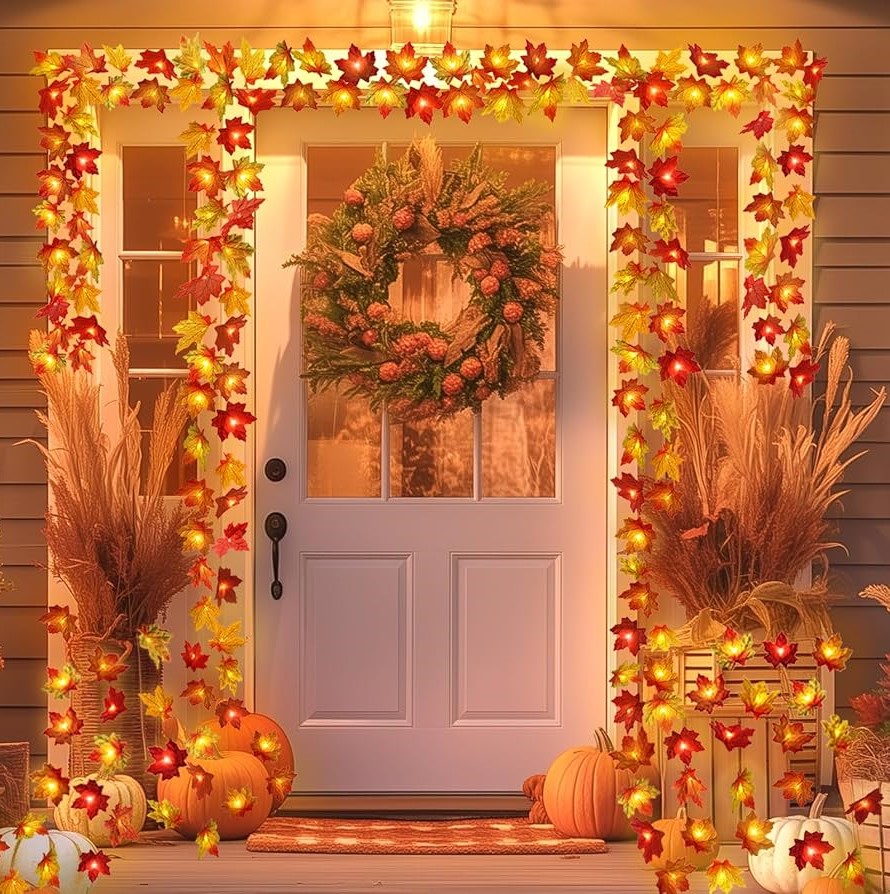
Cost: $14 | Time: 1 hour (spread across three Netflix episodes)
This one happened because I wanted something that looked intentionally elegant, not just “crafty mom trying her best.”
Shopping List (From My Actual Receipt):
- Felt sheets from Walmart: $8.47 (bought too many because I’m bad at math)
- Black embroidery thread: $1.97 (only needed one pack, bought three)
- Scissors: Already owned (amazingly)
- Leaf shapes: Traced from actual leaves in my yard because I’m resourceful like that
The Real Process: I cut out leaves while binge-watching The Great British Baking Show. There’s something about watching people make perfect pastries that makes cutting felt leaves feel totally manageable.
I messed up the first few – cut them too small, then overcorrected and made some giant. But you know what? When I strung them all together, the size variation actually looked intentional and organic.
Where I Hung It: Along my dining room buffet, and every single person who’s come over has complimented it. My mother-in-law even asked if I “bought it from one of those fancy catalog companies.”
The “My Kids Helped So It’s Perfectly Imperfect” Bat Garland
Cost: $8 | Time: 30 minutes of actual work, 2 hours if you count managing excited children
This was supposed to be my quick solo project. Then my kids saw the spray paint come out and suddenly everyone wanted to “help.”
What We Used:
- Old phone book (remember those?)
- Black spray paint: $4.23
- Bat template I found on Pinterest (free, but took 20 minutes to find)
- Hole punch that I borrowed from my neighbor because mine was broken
The Reality: My 5-year-old insisted on “helping” with the spray painting, which meant everything took three times longer because I had to make sure he didn’t paint himself or the dog. My 8-year-old appointed herself “quality control manager” and rejected any bats that weren’t “perfect enough.”
The end result? A slightly chaotic-looking bat garland where some bats are clearly cut by different people (because they were), and it’s honestly my favorite one.
What I Learned About Halloween Decorating (The Hard Way)
One Garland Looks Lonely
I made my first ghost garland and hung it across my kitchen doorway, then stepped back and thought, “Hmm. It looks kind of… sad?”
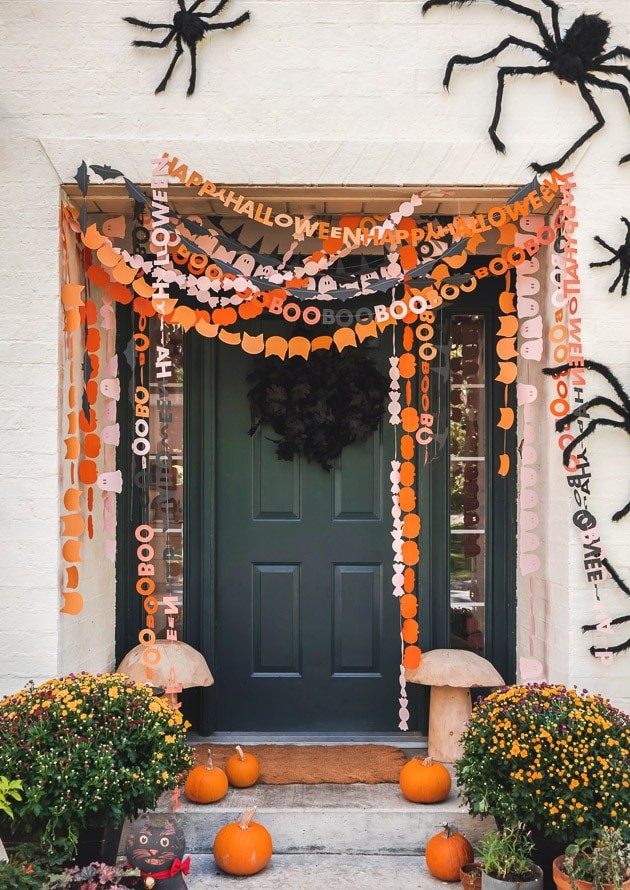
Turns out, you need multiple things happening to create that “wow” factor. Now I layer different garlands at different heights, and suddenly my house looks like I actually planned this instead of just threw some stuff up.
Battery Lights Are Your Friend
I discovered this by accident when my kids left their fairy lights plugged in near my leaf garland. The warm glow made everything look SO much better. Now I add lights to everything. My electric bill hates me, but my Instagram likes me.
Put Garland Where People Don’t Expect It
Everyone puts garland on mantels. I started hanging mine in random places – around my bathroom mirror, along my kitchen cabinets, draped over my banister. Guests always notice and comment on the unexpected touches.
The Storage Reality Check
Let me be honest about storage: I used to just shove everything in a garbage bag and hope for the best. Last year I opened my “Halloween box” to find everything tangled together like Christmas lights had a baby with a craft explosion.
This year I’m rolling my paper garlands around empty wrapping paper tubes and putting my felt stuff in labeled ziplock bags. Will I remember this system next October? Probably not. But I’m trying.
Frequently Asked Questions: DIY Halloween Garland
What materials do I need to make a DIY Halloween garland?
The good news: you probably have most of it at home already. Basic materials include felt sheets or cardstock paper (in black, orange, white, and purple), scissors, a hole punch, and jute twine or ribbon for stringing everything together. Hot glue guns make assembly faster but aren’t required — regular craft glue works fine with a little patience. Googly eyes from the dollar store instantly transform any shape into a character. If you want extra durability, laminate paper shapes before cutting or use felt instead of paper for pieces that will hang outdoors.
How long does it take to make a Halloween garland with kids?
Budget about 45 minutes to 1.5 hours for a garland with basic shapes. Pre-cutting the shapes yourself and letting kids decorate them with markers, googly eyes, and stickers speeds things up dramatically — that assembly step alone takes only 15–20 minutes. A more elaborate garland with layered details could take 2–3 hours spread over an evening, which honestly makes it a perfect weekend activity rather than a rushed weeknight craft. The process is the point as much as the result.
How do I hang a DIY Halloween garland without damaging walls?
Command strips and removable adhesive hooks are a renter’s best friend for seasonal décor. For lightweight paper or felt garlands, a single Command hook at each end handles the weight easily. Washi tape works for very light paper chains on smooth walls and peels off cleanly. Mantelpieces, bookshelves, stair railings, and window frames are all natural hanging spots that need zero wall damage. Check out our dollar store DIY projects guide for more low-cost, no-damage decorating hacks that work beautifully in rentals.
My Challenge to You (If You’re Feeling Brave)
Pick one of these garlands – whichever one speaks to your current energy level and available time. Don’t worry about making it perfect. My most complimented decorations are usually the ones where something went “wrong” and I had to improvise.
Start with what you have. I bet you’ve got white paper, or old books, or felt scraps from some long-forgotten project. Halloween decorating doesn’t have to be another thing on your to-do list that makes you feel inadequate.
And if your kids want to help? Let them. Sure, it’ll take longer and might not look exactly like the Pinterest version in your head. But their excitement over the wonky ghost they cut out themselves is worth way more than any store-bought perfection.
Bottom line: That $47 Target garland is probably still sitting on the shelf. Meanwhile, my daughter tells everyone who’ll listen about the Halloween decorations “we made together.” Pretty sure I know which one’s the better deal.
P.S. – If you make any of these, I’d love to see how they turn out! Tag me @stylehomeforless on Instagram, especially if yours turn out better than mine (which they probably will).
P.P.S. – If they turn out worse, tag me anyway. We can commiserate together.
<More>
Leave a Reply