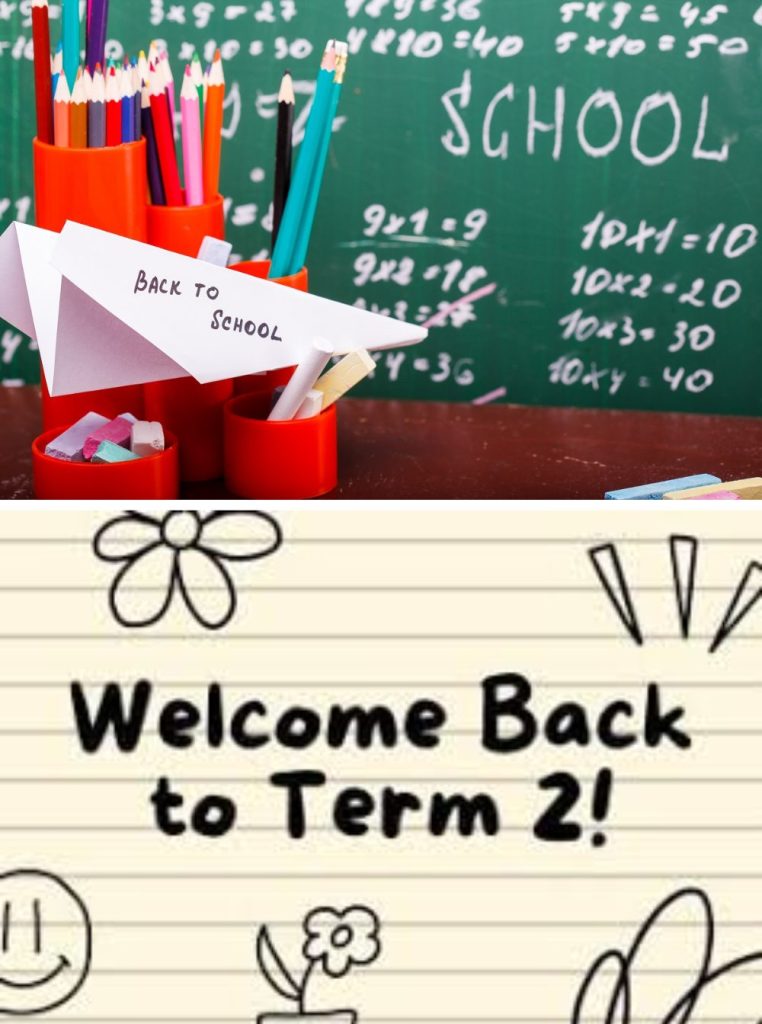
Every August, I watch the same scene unfold in my kitchen. Backpacks thrown on chairs. Permission slips scattered across the counter.
My daughter frantically searching for her math homework at 7:30 AM while I’m trying to pack lunches.
Sound familiar?
Three years ago, I finally reached my breaking point. That’s when I discovered the magic of a family command center – and more importantly, learned you don’t need to spend a fortune to create one that actually works.
Why Most Command Centers Fail (And How to Avoid This Mistake)
Here’s what I’ve learned from helping dozens of families organize their school routines: most command centers are either too complicated or too expensive to maintain.
I’ve seen Pinterest-perfect setups that cost $200+ and require daily maintenance. Beautiful? Absolutely. Realistic for busy families? Not a chance.
The command center I’m sharing today costs under $25 and takes just one weekend to set up. More importantly, my kids actually use it. Even my notoriously disorganized 10-year-old nephew started keeping track of his assignments when his mom tried this system.
What You’ll Need (Total Cost: $23.47)
I’ve refined this supply list through trial and error. Every item serves a specific purpose, and I’ve tested cheaper alternatives that didn’t work.
From Dollar Tree ($8.00):
Dollar Tree is a goldmine for organization supplies. If you haven’t already, check out our roundup of dollar store DIY projects for even more creative ways to stretch your budget.
- 2 cork boards (12″ x 16″) – $2.00
- 3 small wire baskets – $3.00
- Pack of push pins – $1.00
- Dry erase markers (4-pack) – $1.00
- Small magnetic clips (8-pack) – $1.00
From Walmart ($15.47):
- Command strips (medium, 6-pack) – $7.99
- Laminating sheets (20-pack) – $4.48
- Colored folders (5-pack) – $2.00
- Small whiteboard (8″ x 10″) – $1.00
Pro tip: I always buy laminating sheets in bulk because they’re incredibly versatile for organizing projects. You’ll use the extras, trust me.
Step-by-Step Setup Guide

Step 1: Choose Your Location (This Makes or Breaks Everything)
Location matters more than aesthetics. I learned this the hard way when my first attempt ended up in our hallway – completely ignored because nobody naturally walked past it.
Best locations I’ve tested:
- Kitchen wall near the back door (where we enter/exit)
- Inside of pantry door (surprisingly effective!)
- Mudroom or entryway wall
- Side of refrigerator (if you have magnetic surfaces)
Avoid these spots:
- Formal dining rooms (too removed from daily traffic)
- Kids’ bedrooms (out of sight, out of mind)
- Home office areas (parents see it, kids don’t)
The golden rule? Place it where your family naturally gathers or passes through at least twice daily.
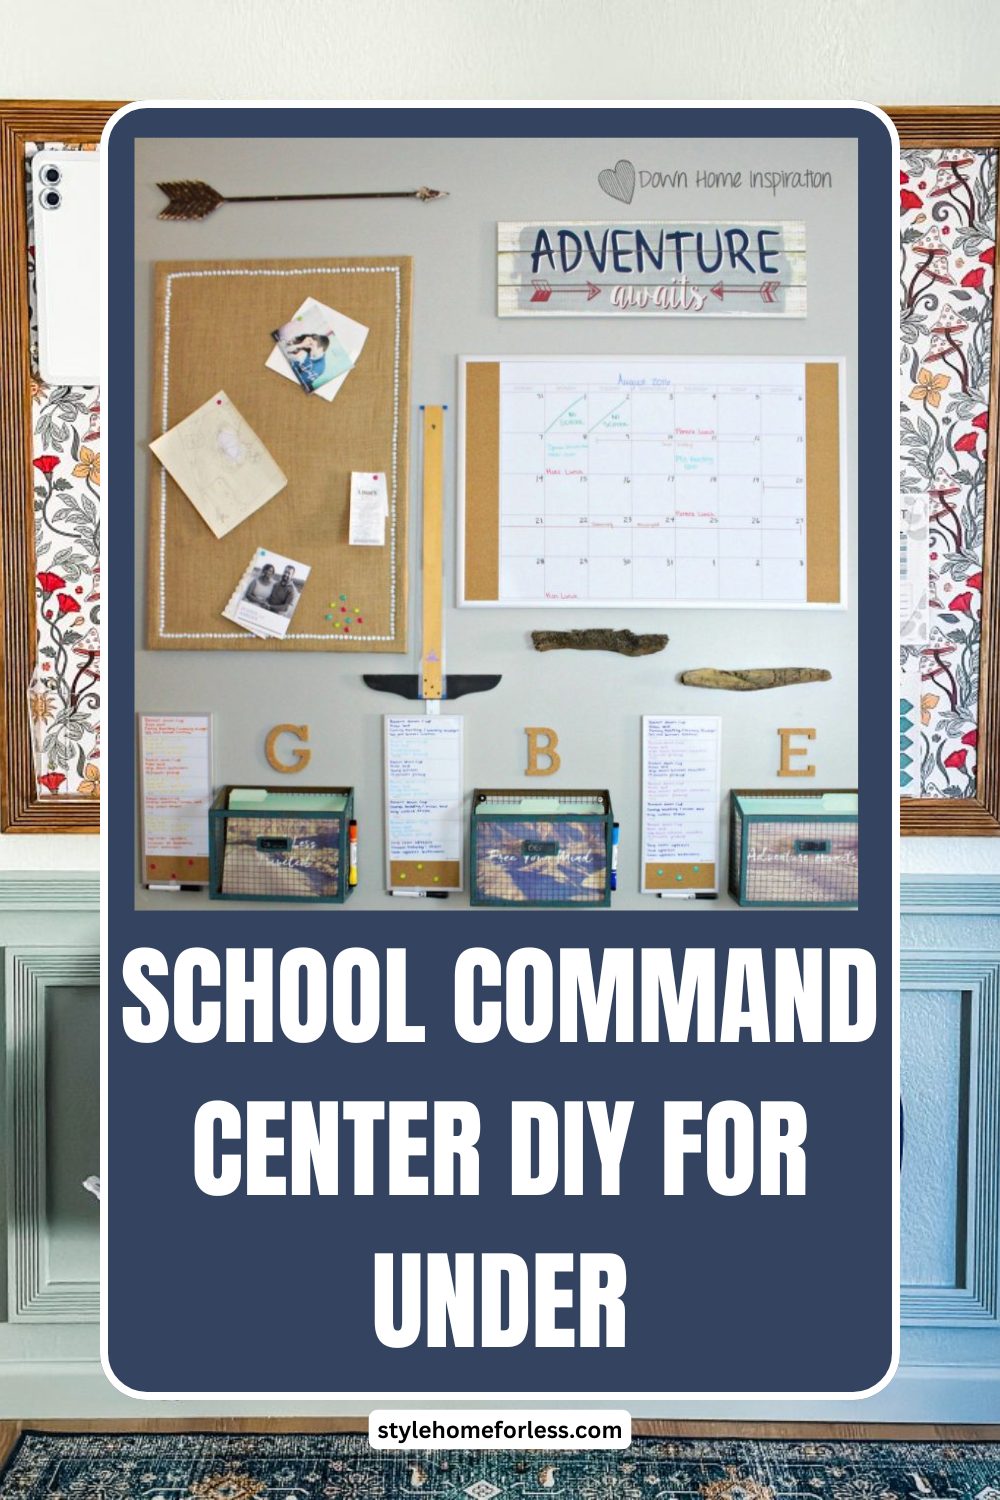
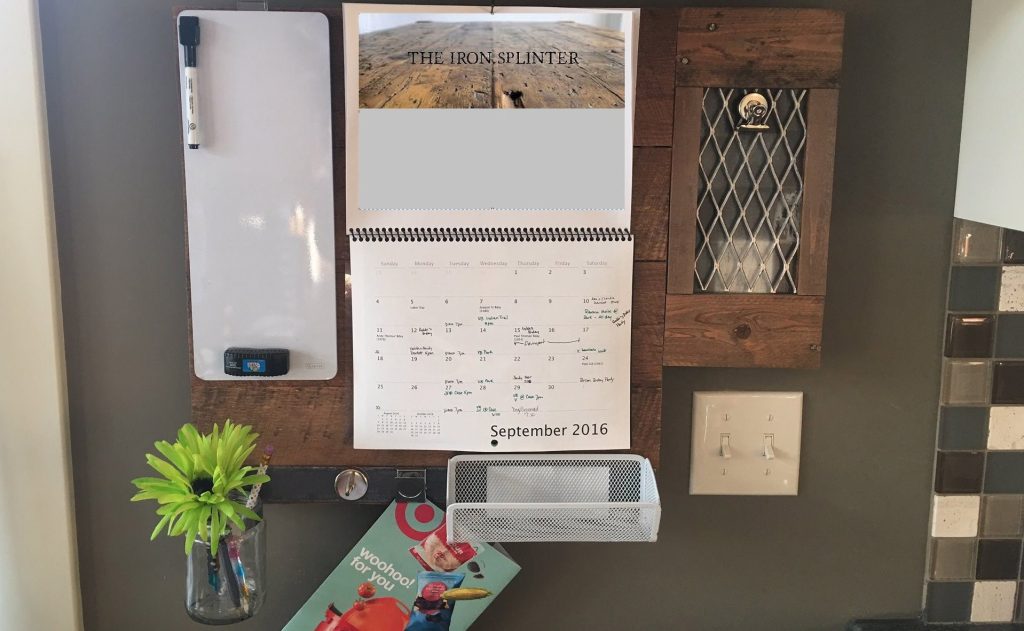
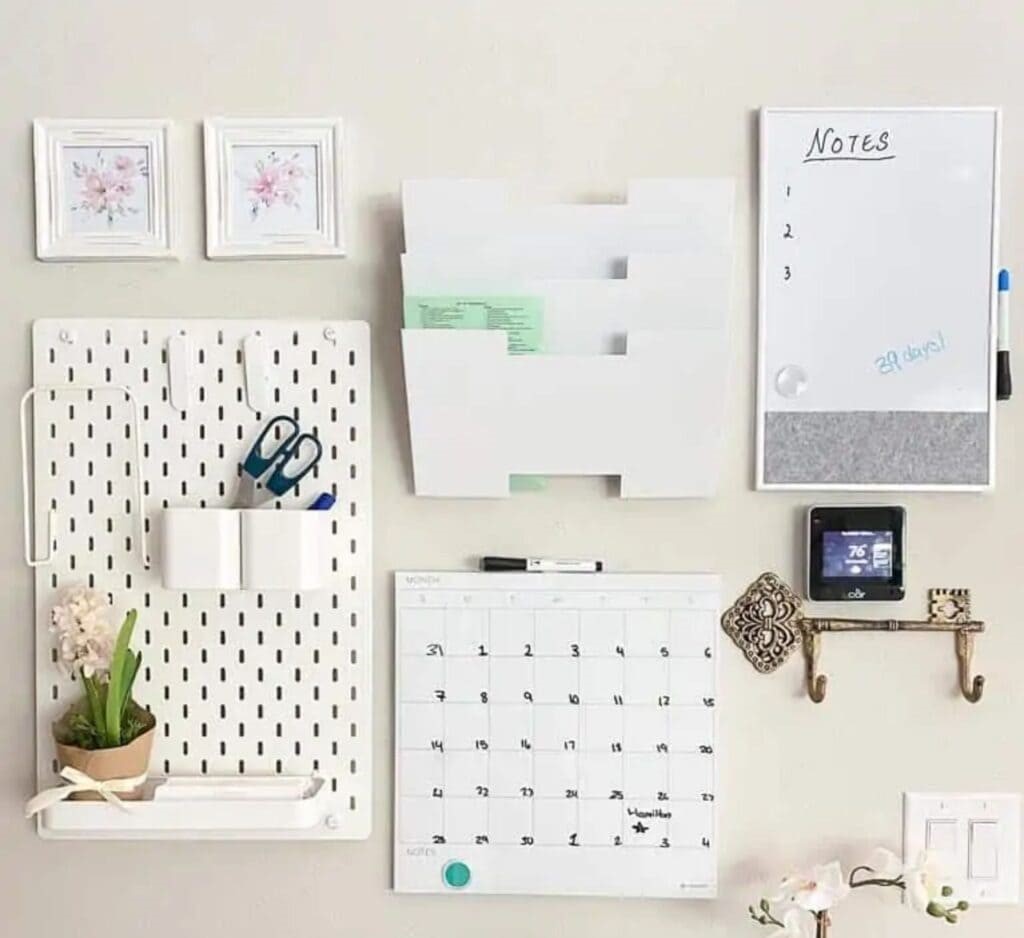
Step 2: Create the Information Hub
Mount your cork boards side by side using Command strips. I space mine about 2 inches apart – close enough to feel unified, far enough apart to create distinct zones.
Left Board: “This Week” Information
- School calendar for current month
- Weekly assignment tracker (I’ll show you how to make this)
- Important dates and deadlines
- Permission slips that need signatures
Right Board: “Daily Essentials”
- Morning routine checklist
- After-school activity schedule
- Emergency contact information
- Lunch menu (if your school provides this)
Step 3: Design Your Assignment Tracker
This is where the magic happens. To begin, I create a simple grid using a regular sheet of paper. Once it’s ready, I laminate the template and use dry erase markers for quick updates. For efficiency, I make 10 copies at once, which saves a lot of time throughout the school year.
Here’s why this works: Kids get immediate visual feedback when they complete assignments. As a result, my daughter actually started doing her homework without reminders—simply because she loves checking off those boxes.
Step 4: Set Up the Action Zones
Mount your wire baskets below the cork boards. Label them clearly:
Basket 1: “To Do”
Homework assignments, permission slips, forms that need attention
Basket 2: “To File”
Completed work, graded papers, certificates to save
Basket 3: “Emergency Kit”
Spare pencils, erasers, glue sticks, band-aids
Pro tip from a fellow mom: Keep a small stapler in the emergency basket. You’ll use it more than you think.
Step 5: Add the Communication Board
Mount your small whiteboard at kid height. This becomes your family’s central messaging system.
What goes here:
- Quick reminders (“Soccer practice moved to 4 PM”)
- Daily affirmations (“Great job on your science test!”)
- Schedule changes
- Family meeting notes
I write in different colors for different kids. Sounds silly, but it actually helps them pay attention to their specific messages.
Making It Work: The First Two Weeks
Setting up the command center is easy. Getting your family to actually use it? That’s where most people struggle.
Week 1: Training Phase
Your job: Model the behavior you want to see. Check the command center every morning and evening. Update information regularly. Ask kids specific questions: “Did you check your assignment tracker?” instead of “Do you have homework?”
Kids’ job: Simply notice the command center exists. Don’t expect perfect compliance yet.
Week 2: Habit Formation
Your job: Start delegating. Ask kids to update their own assignments. Let them choose which color markers to use. Give lots of positive reinforcement when they use the system correctly.
Kids’ job: Begin taking ownership. They should start checking the command center without reminders.
Real talk: My kids complained the first week. They said it was “too much work” and “unnecessary.” By week three, my son was reminding ME to update the family calendar. Patience pays off.
Advanced Features (Once the Basics Are Working)
After your family masters the basic system, consider these upgrades:
Color-Coding System
Assign each family member a color. Use colored folders, markers, and even Command strips in their designated colors. This eliminates confusion about whose stuff is whose.
Rotating Responsibilities
Create a simple chore chart on laminated paper. Rotate weekly tasks like feeding pets, taking out trash, or organizing the command center itself.
Seasonal Adjustments
I swap out decorative elements quarterly. Fall leaves in September, snowflakes in December. Kids love helping with these updates, and it keeps the space feeling fresh.
Troubleshooting Common Problems

Problem: Papers keep falling off the cork board
Solution: Use magnetic clips instead of push pins for important documents. They hold better and look cleaner.
Problem: Kids ignore the assignment tracker
Solution: Make it a requirement before screen time or allowance. Link it to something they actually want.
Problem: Command center becomes cluttered
Solution: Institute “Sunday Reset” – 10 minutes every weekend to clear old papers and update information.
Problem: Multiple kids, limited space
Solution: Use colored sections on the same boards rather than separate boards for each child. It’s actually more effective for family communication.
Why This $25 Investment Changes Everything
Last school year, we had zero missing assignments. None. Compare that to the previous year when my daughter turned in only 60% of her homework on time.
But the real win? Our mornings transformed from chaos to calm. No more frantic searching for permission slips. No more forgotten projects. No more mom guilt about being disorganized.
The numbers that matter:
- Setup time: 2 hours on a Saturday afternoon
- Daily maintenance: Less than 5 minutes
- Weekly update: 15 minutes on Sunday
- Stress reduction: Immeasurable
My neighbor saw our system in action and created her own version the following weekend. Six months later, she tells me it’s the best parenting decision she’s made in years.
Maintenance Tips for Long-Term Success
Daily (2 minutes):
- Check for new papers in backpacks
- Update assignment tracker if needed
- Quick visual scan for outdated information
Weekly (15 minutes):
- Remove completed assignments
- Update calendar for upcoming week
- Restock emergency basket if needed
- Replace dry erase marker caps (they disappear constantly)
Monthly (30 minutes):
- Deep clean cork boards
- Replace worn Command strips
- Update emergency contact information
- Celebrate wins and adjust what’s not working
Final Thoughts: Start Small, Think Big
You don’t need a Pinterest-perfect command center to get organized. Instead, you need a system that works for YOUR family’s real life—complete with chaos, busy schedules, and kids who forget things.
Over the past three school years, this $25 command center has not only survived in my home but also thrived. In fact, it has been copied by friends, adapted by relatives, and refined through countless small adjustments.
Ultimately, the best family organization system is the one your family will actually use. Therefore, start with these basics; then, as you learn more about your specific needs, customize and refine the setup to make it truly your own.
So, are you ready to get started? First, grab those supplies this weekend. Next, set everything up while the kids are busy. Finally, watch as your family transforms from morning chaos to a calm, organized routine.
Trust me—your September self will thank you.
Have you tried creating a family command center? If so, I’d love to hear about your experience in the comments below. Furthermore, if you’re looking for more budget-friendly organization ideas, check out our guide to Dollar Store Kitchen Organization Review for budget-friendly storage solutions.
Frequently Asked Questions
How much does a DIY family command center cost?
You can build a fully functional family command center for as little as $15–$30 using Dollar Tree supplies and Command strips. The system in this guide costs around $23.47 total. The key is focusing on function over aesthetics — a simple cork board, a few wire baskets, and a small dry-erase calendar will do more for your mornings than any expensive wall organizer.
Where is the best place to put a family command center?
The best location is wherever your family naturally gathers or exits the house — usually the kitchen or a wall near the front/back door. The goal is zero friction: if the command center is out of the way, nobody will use it. Eye-level placement works best so both kids and adults can access it without bending or reaching.
What should a back-to-school command center include?
A good back-to-school command center needs four things: a weekly calendar or schedule view, a spot for incoming papers (permission slips, artwork, notices), a place for outgoing items (homework, forms to return), and a section for each child. You can expand over time, but starting simple is the smartest move — families that start with too many components tend to abandon the system within two weeks.
Leave a Reply